Last winter, my husband wistfully commented a number of times as to how much he wished we had a bathtub; we have four bathrooms but every single one has a shower.
My husband asked someone who does renovations what would be involved in putting in a bathtub. I didn’t think there was room for a bathtub, and would have assumed even if there was room it would be a huge amount of work and expense, but after this conversation, my husband assured me it was doable.
We could move the sink to a different wall, and then the bathtub would be placed on the wall where the sink and shower had been.
The space was a little small but there are bathtubs sized for approximately that space.
When I was buying tiles for the new kitchen backsplash in the spring, I found one with the right measurements and bought it as a surprise for my husband.
While he was pleasantly surprised, a bathtub does not a bath make.
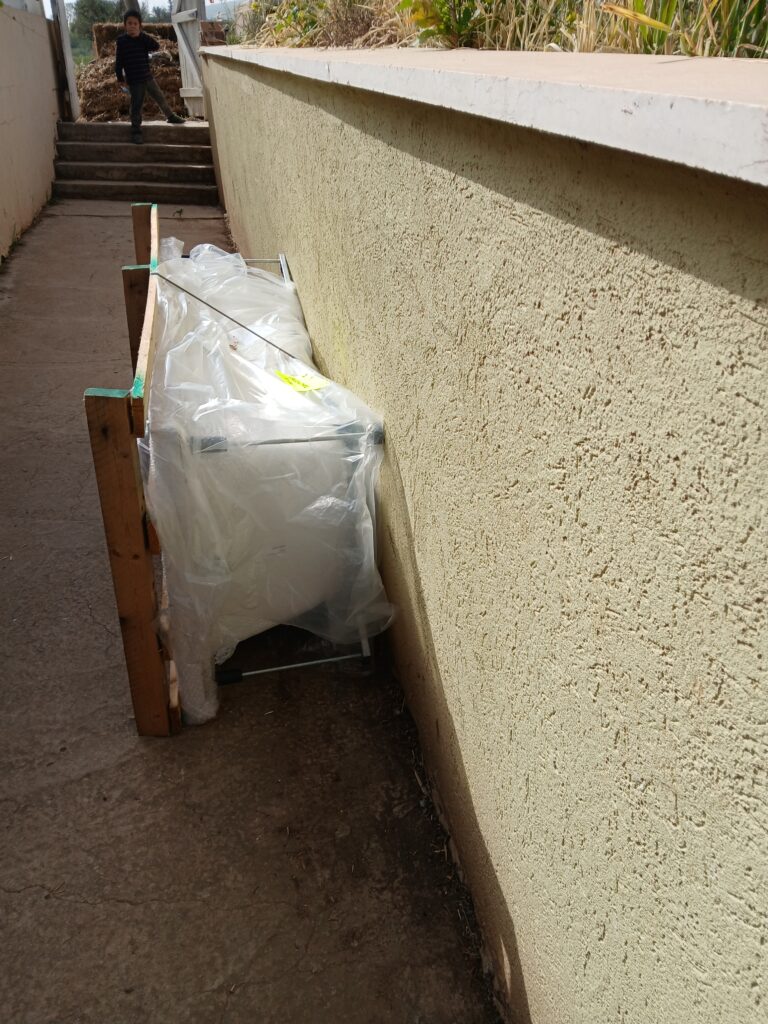
The bathtub sat, and sat and sat.
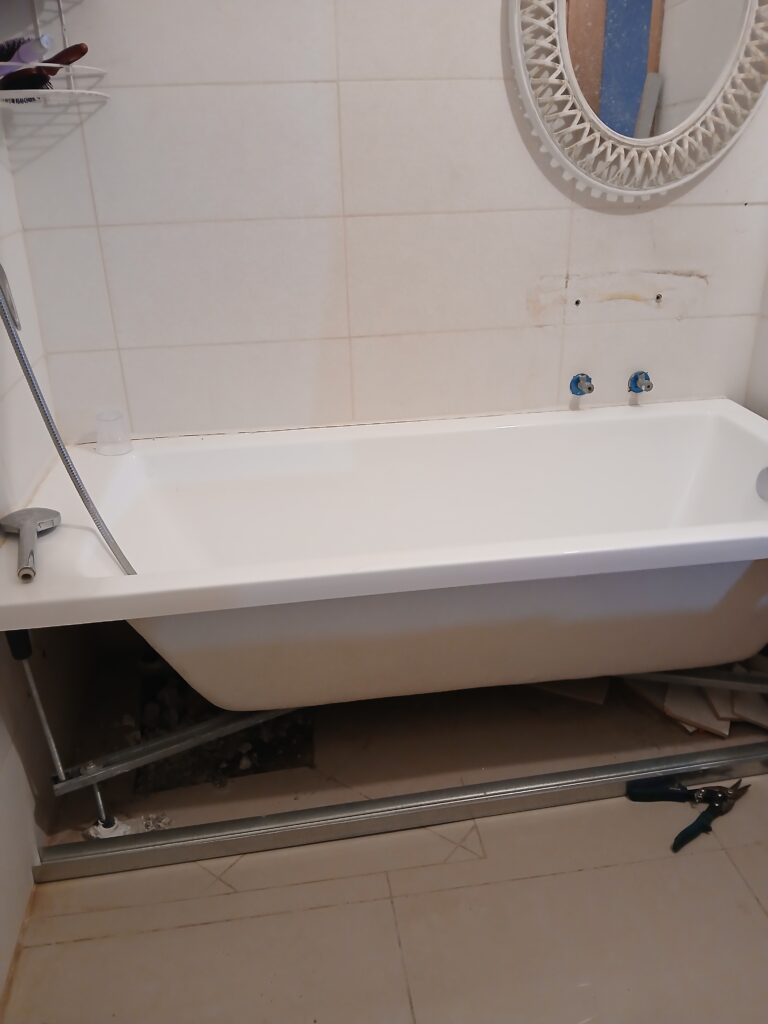
Months went by, and finally my husband decided to call someone to put it in for us. That person did the plumbing, but said he didn’t have time to do the tiling. The tub was usable, but it was so visually unattractive.
You can see on the left where the shower was, and on the right where the sink was.
My husband said he would do the tiling but wasn’t sure where to begin. In addition, he works full-time so he really didn’t have much extra time for a project like this.
We had an added challenge. The current tiling was put in when the house was built, about 14 years ago. So obviously that’s not in stock anymore.
The floor is a beige with a brown undertone; the tiles are patterned white and silver with a gray undertone. While it looks good together, do you know how difficult it is to find tiles that match both the existing walls and the floors? Not possible at all.
My husband said we should tile the tub surround plain white. I balked and said we absolutely were not going to do a renovation that looked low grade and dumpy. My suggestion was to retile the entire bathroom and tub surround.
My husband was understandingly quite unenthused about a project of that scope.
The solution that met both of our needs was inspired by a different project that is still in progress: the retiling of the laundry room and children’s bathroom. Their bathroom has the same tiles as our bathroom, and though many had been removed by then and were broken in the process, some were still on the wall.
My husband watched some videos to learn how to remove them from the wall in their entirety. Then he removed the tiles, until he had enough for our new bathtub surround.
There was a good bit of other unseen work that needed to be done before he could begin setting the tiles, but finally there was visible progress being made. (Below, laying out the frst row of tiles.)
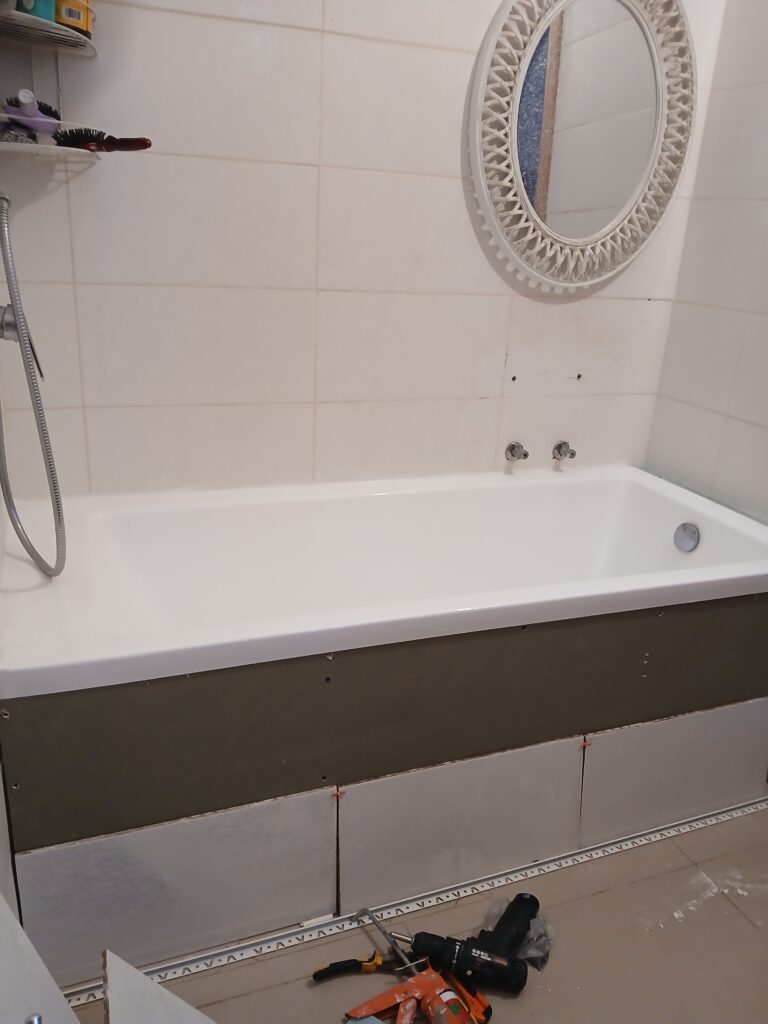
(Below, the final results.)
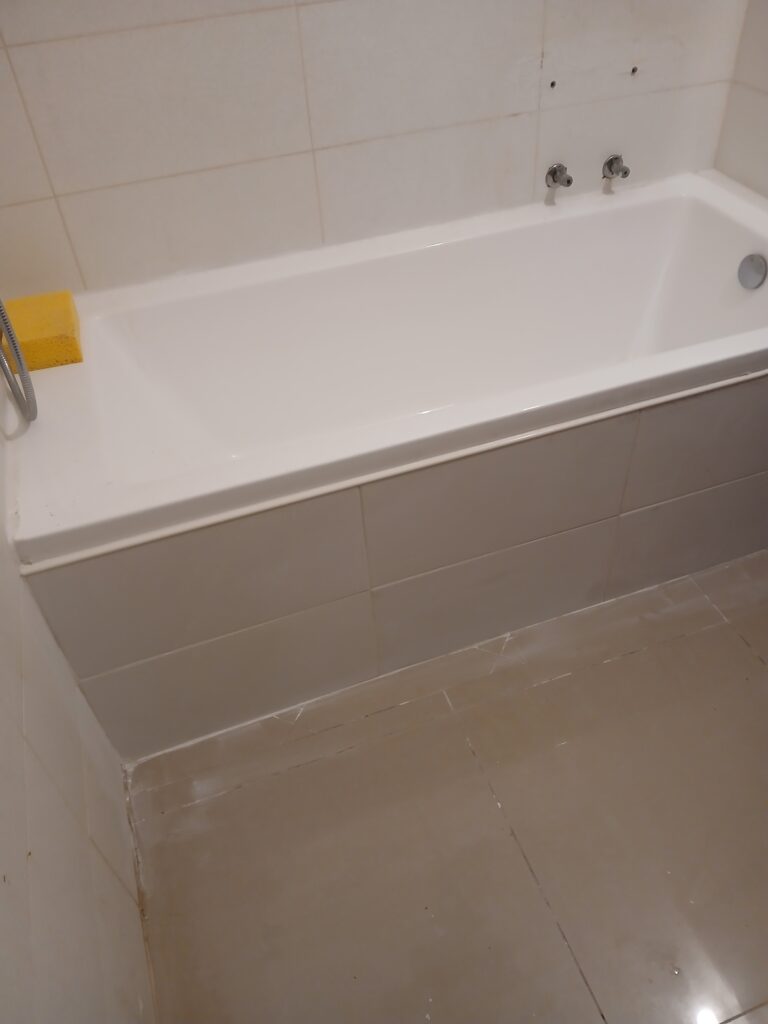
We’re both very pleased with how it turned out. He did a great job.
There are a couple more details before we wrap up this project. One is the attach faucets on the wall where the sink was.
The other is to replace the tile on the wall that has two holes drilled into it from when the sink was attached.
But the biggest part of the project is finished; the other items can be taken care of relatively quickly.
————-
While this project dragged out longer than my husband would have liked, he’s very, very happy to have a bathtub!
The last couple of winters, he’s felt rundown and constantly under the weather. He kept wondering what he could do to boost his immune system, since he eats well, thinks positively, and exercises regularly.
Voila! This winter has been dramatically better than the last two for him. He hasn’t had any cold symptoms nor the constant feeling of being under the weather. He attributes the dramatic improvement to his nightly bath, which is warming and invigorating.
Avivah
4 Responses
What a creative solution to use tiles from other projects! And such a nice upgrade to the space!
It’s a much better use of the space than what we had before, and when we thought of using the tiles that were on the wall of the other bathroom, we felt like geniuses!
Wow, Avivah this is quite impressive, especially that you managed to remove old tiles without cracking them.
Just curious, why do you think that tub soaking boosts the immune system?
There’s a way to do everything, seemingly, if you take the time to learn. I wouldn’t have thought we could get them off in one piece but I was very pleasantly surprised to learn otherwise!
I can’t say for sure why it’s beneficial. In hot water therapy, the warmth of the water helps relax muscles, reduce pain, improve blood circulation and helps the body detoxify, so I’m thinking something along those lines is happening.