It’s fun when I discover how I can do things on my own that I previously assumed I had to buy or outsource to others, and making my own apple cider vinegar was one of these things!
It is so easy, frugal and healthy, that I can’t believe I didn’t make this until recently.
If you’re preparing apples for something else, you can save the peels and cores to use to make the vinegar. Technically this is called scrap apple vinegar. Since I try to minimize waste, making vinegar out of something destined for the trash (or in my case, the chickens) is a bonus. However, in terms of the final result, I made a batch of scrap apple vinegar and a batch of apple cider vinegar, and didn’t notice much of a difference between the two.
1- Fill a jar at least halfway with chopped apples or apple scraps. The flavor and color of the final product will be affected by what apples you use; it’s all good. I had a bunch of yellow apples that started getting wrinkly, so that’s what I used.
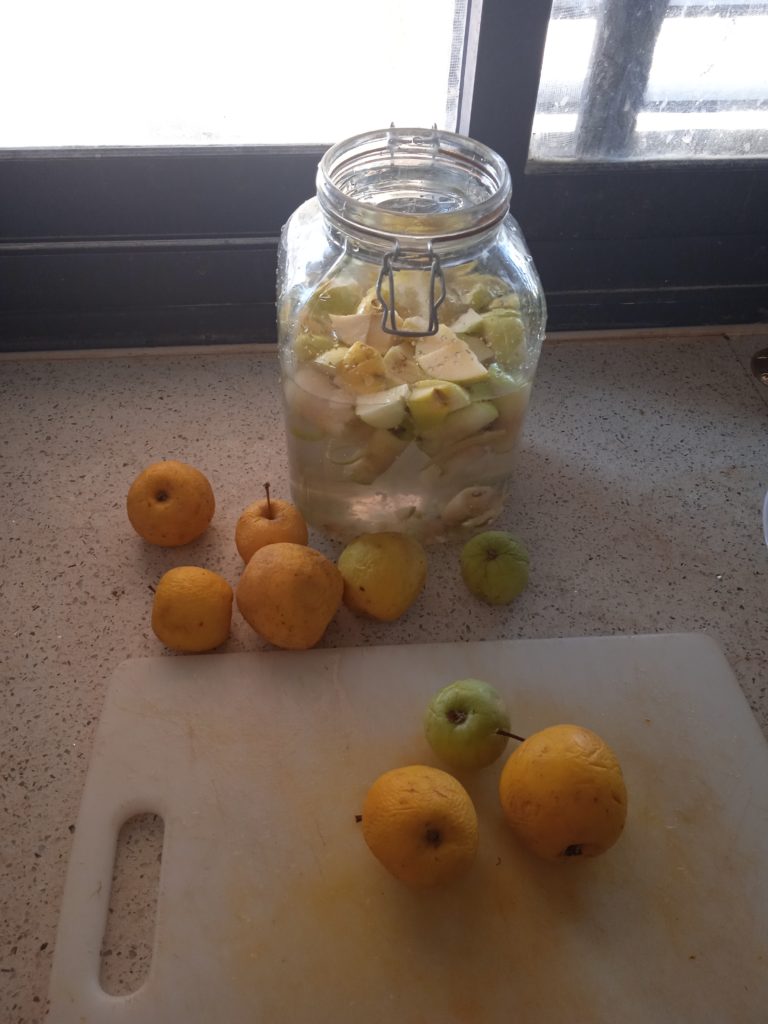
2- Add water to the jar until it’s just about at the top. Technically it’s best to use filtered water but I’ve always made ferments with tap water. The chlorine evaporates when left uncovered or when covered with a cheesecloth.
3 – Add sugar. The official ratio is 1 tablespoon of sugar per cup of water and 1.5 apples. (I’m not so exacting and didn’t find this formula for the ratio until after I had made a few batches, so I can definitively state that it will turn out fine if you use less. I used four teaspoons for each of the large jars you see below.) If you try to avoid eating sugar, don’t worry about it in this case; the fermentation process will eat it up and none will be left in the final product.
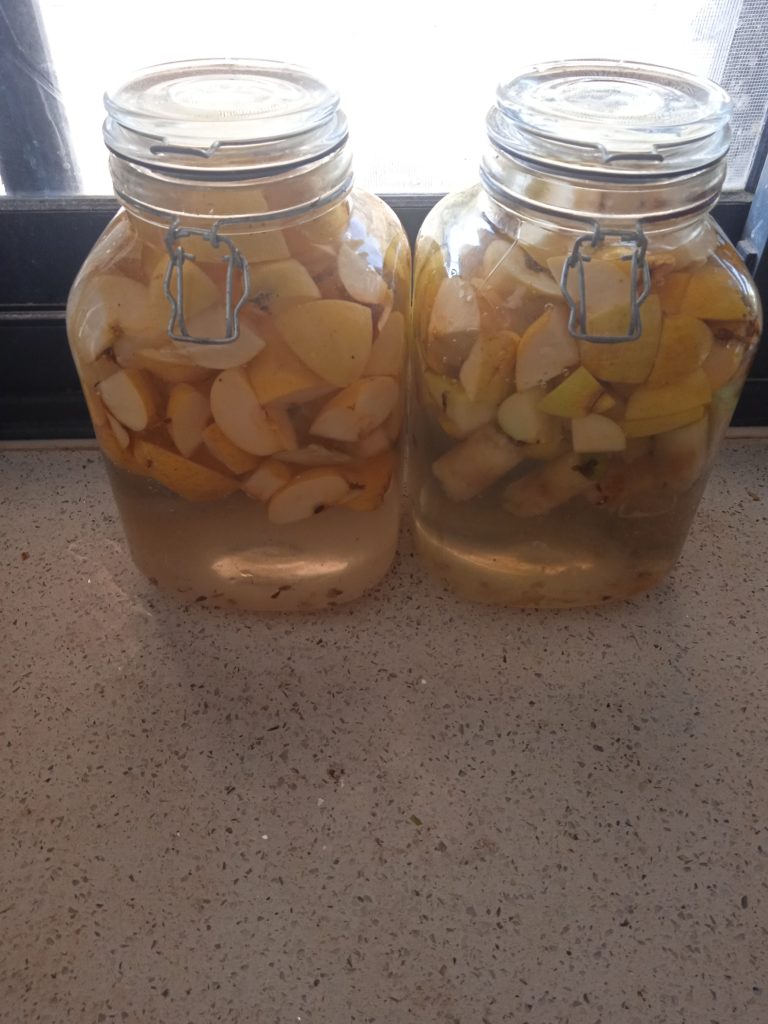
4 – Mix, and cover the jar with a cheesecloth to keep anything from getting in. You’ve now just about finished the active part of making apple cider vinegar. Basically you’re going to let it sit on your counter for a few weeks and stir it once daily. (That’s because the pieces will all float to the top, so stirring it will ensure no mold grows on top.)
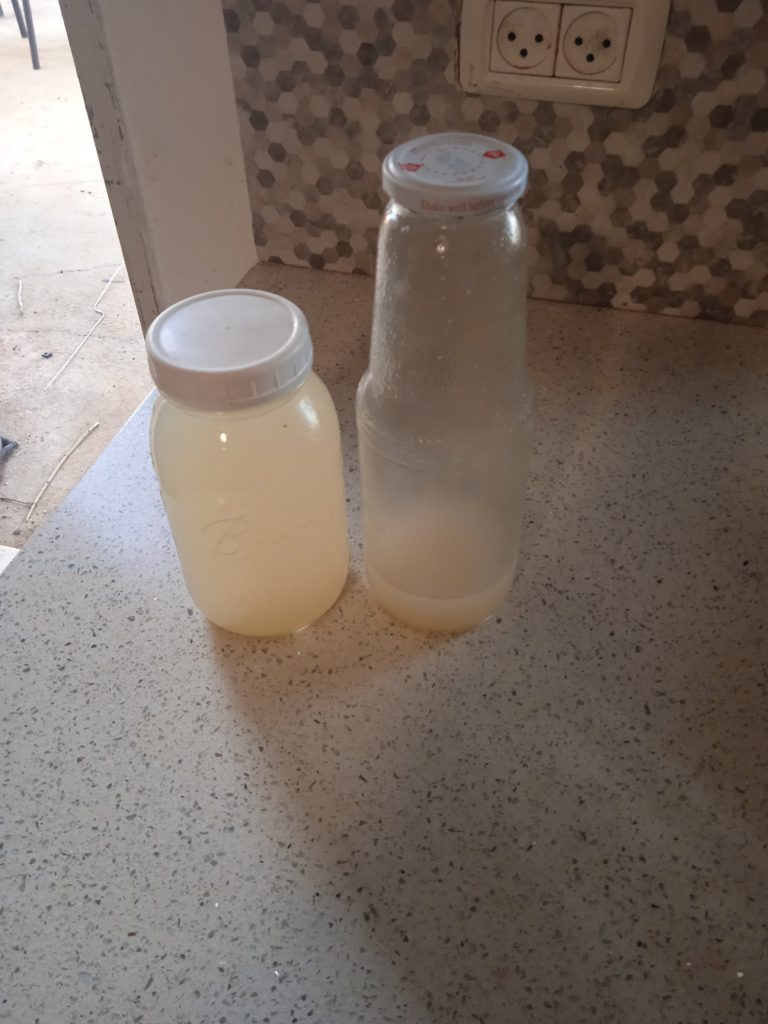
5 – Let it sit a few weeks. Taste it. Do you like how it tastes? Then strain it and bottle it. Not ready yet? Let it sit another week or two. Refrigerate once ready.
That’s it!
I previously mentioned that I really liked the taste of this. My husband tasted my latest batch when it was still sitting on the counter, waiting to be strained, and he likes it, too, so it’s going fast!
There are lots of ways to use apple cider vinegar to benefit your health. Lots of people have written about it, so I’ll just link to one of them and let you read what they’ve written. 🙂 I can add, though, that one of my kids had dandruff, and when they washed their hair using this apple cider vinegar as a rinse just one time, there wasn’t a speck of dandruff remaining and the hair looked so shiny and healthy afterward.
Avivah
2 Responses
Thanks for this, Avivah. Do you need to keep it in the fridge after it’s ready?
Yes, thanks for asking that! I’ll add it to the post. 🙂