I’m fortunate that being in an more agriculturally oriented area, that sometimes I get really good deals on produce. It tends to be feast or famine (like when friends of the farmer picked and shared watermelons left in the field after harvesting with us and many others, and every day for a couple of weeks our boys ate an entire watermelon. Seriously. Every.Single.Day.). It’s not predictable at all. But when it works out, it’s really nice.
Last week I got a great deal on green grapes (free :)). I decided to get more than what I would use for eating during the course of the week, and to experiment with using them for making grape juice.
It’s been a loooong time since I made homemade grape juice. (Nice thing about having a blog is I can check details like this – it’s been twelve years!) And I didn’t know if green grapes would make good juice. But with the price being what it was, it seemed like a worthwhile experiment. 🙂
Ds13 did the first batch, and he did it his way. Though I shared the general instructions with him, he didn’t feel there was any point in heating the grapes before blending them and then straining, so his batch was totally raw. Very fresh tasting. A day later it began to ferment, and then he had fizzy grape juice. I thought that improved the flavor!
But I wanted to do it the traditional way, so I made a batch and then ds12 made the final batch. It was interesting that the color changed when cooked. The raw juice was the color of the green grapes, but the cooked juice had a pinkish hue.
Here’s how complicated making grape juice is: 1) destem the grapes (that’s the most time consuming part). 2) Put them in a pot with some water (I didn’t add too much, but if you wanted it to be less concentrated or added sugar, you could add significantly more water), and sugar if you desire (we didn’t desire :)). 3) Let boil and then continue simmering on low for about fifteen minutes. 4) Mash the grape mixture with a potato masher to release the flavors. (You can also use a food processor but this was easier.) 5) Strain. Voila!
It’s fun to make something that you’re used to thinking of as an item you need to buy at the store.
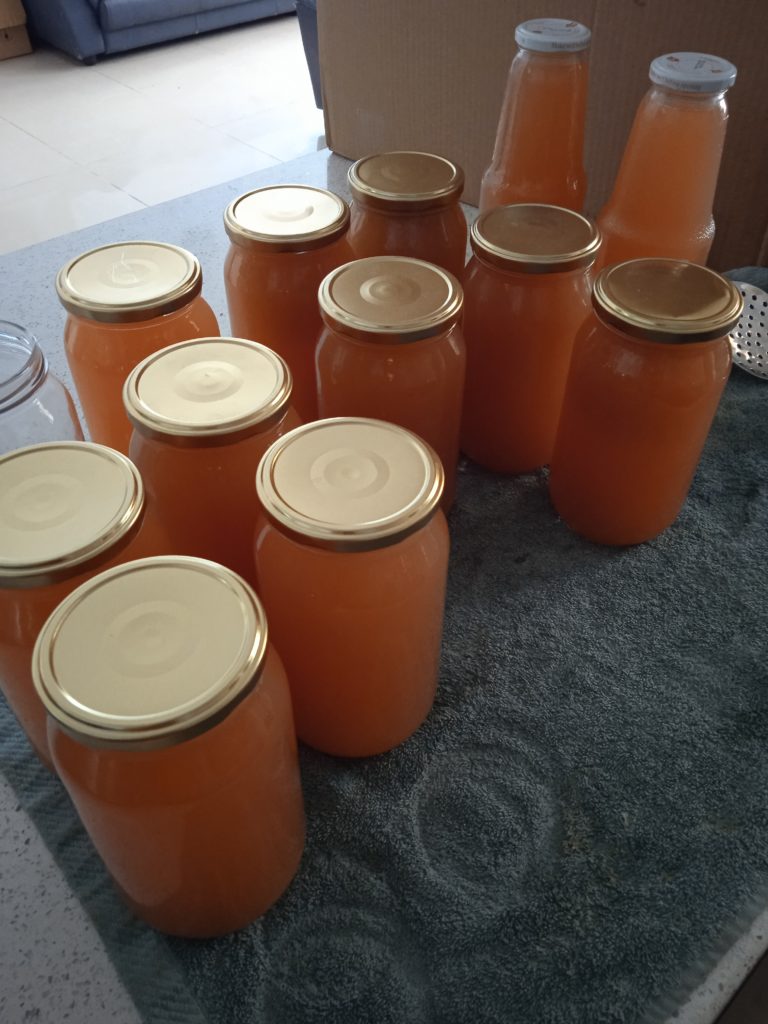
I don’t have a lot of freezer space for a bunch of bottles, and I had just bought some glass jars the day before, so we decided to preserve the juice so that it would be shelf stable.
I haven’t canned in AGES. I used a couple of recycled juice jars, and all the rest were standard glass jars with pop-top vacuum lids. (These lids vacuum seal when water bathed.) Since I could only fit six jars in the pot and I wanted to go rest, I asked ds13 to finish canning the last jars.
When I woke up, he had cleaned up the kitchen for Shabbos, the jars were not only taken out but had cooled and put on the pantry shelf. He was so excited to show me! It really is gratifying to do something like this; I know that very pleasant productive feeling.
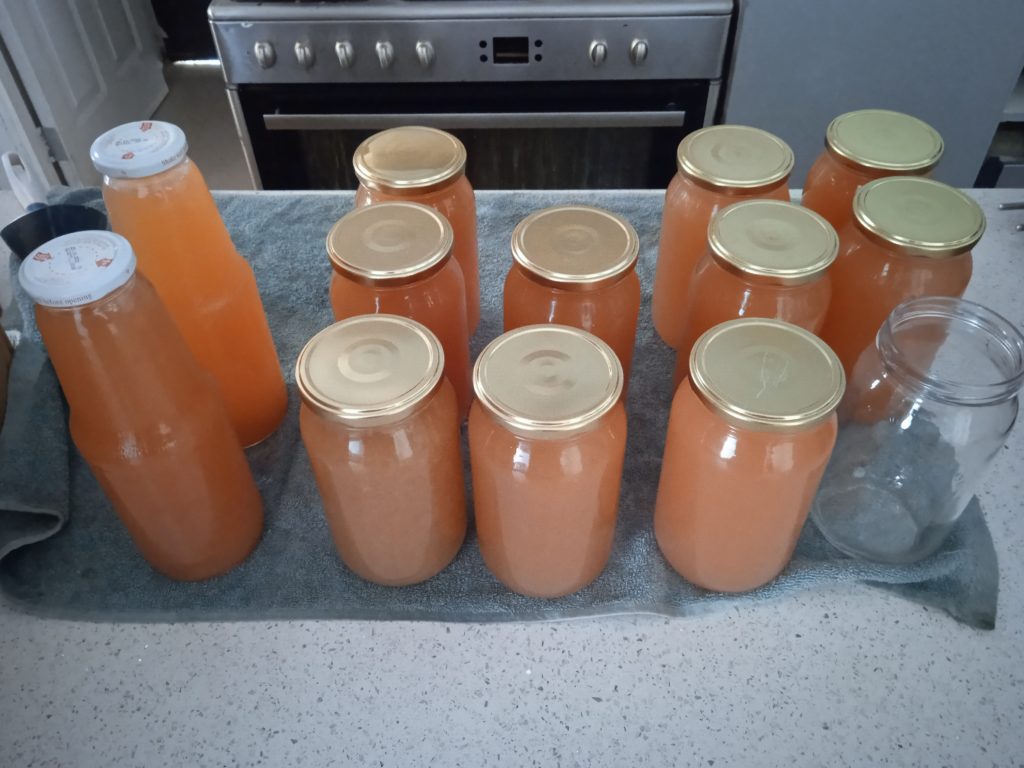
From our free grapes, we made 13.5 liters of sugar-free, all natural grape juice (there are four cups to a liter). We canned 11.5 liters; the two liters of raw juice we didn’t heat process and enjoyed as is. We opened the first bottle that evening for Shabbos kiddush, and all agreed that it was very tasty. We should have enough to get us through the holidays, when we can share it with visiting family!
Avivah

Looks delicious!
I did not know it was so simple! (or so it seems from your instructions :))
It really is so simple, Shani!
Yum! Homemade is so much tastier! We did this for a few years when we used to get free grapes. We washed, mashed and dumped the whole mess into a clean cotton pillowcase and squeezed away. Then we froze it right away. It’s such a special Yom Tov treat!