I’ve been meaning to share with you about our latest upgrade in furniture – a double set of bunk beds!
Here’s what inspired this project:
Our three younger boys share a room. There were two beds in their room and one of the boys slept on a trundle that pulls out. The only problem with this scenario was the trundle wasn’t regularly getting pushed back in each morning and when it was left out, it made the room look crowded and attracted clutter.
I wanted to have more floor space, increase sleeping space and make it easier for the boys to keep their room tidy without as much help from me. So I decided to replace each of the twin beds with a bunk bed.
And then I decided we’d build them ourselves!
I looked online for plans and chose to adapt the plans I found on ana-white.com; ds17 modified the plans according to my specifications.
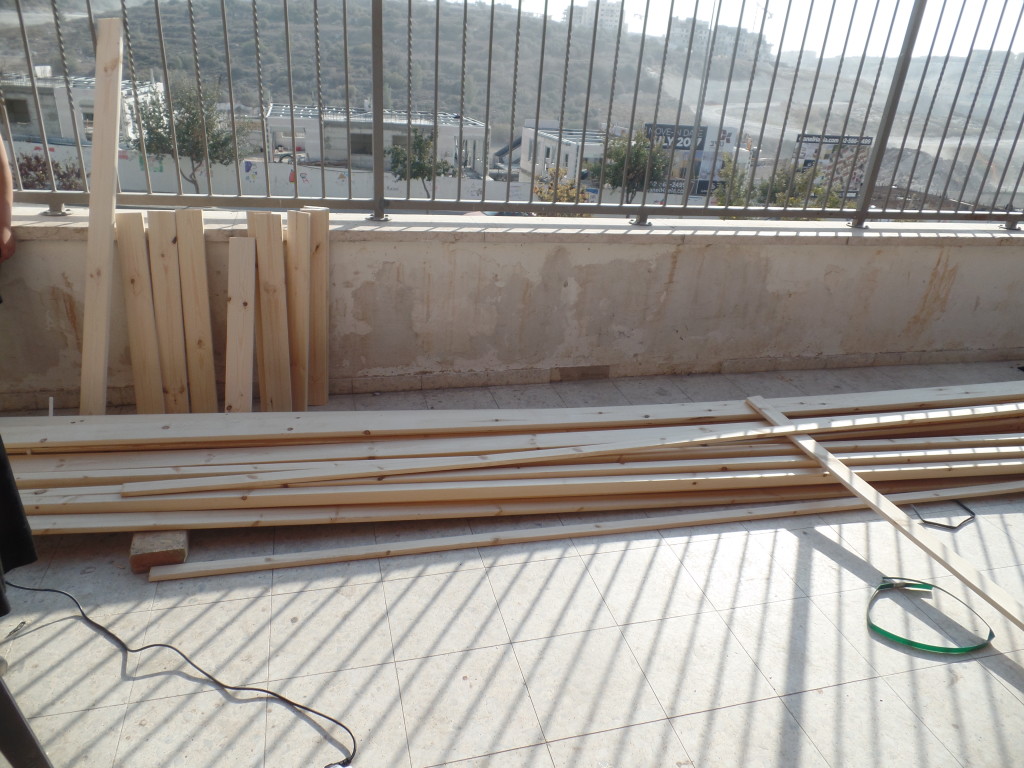
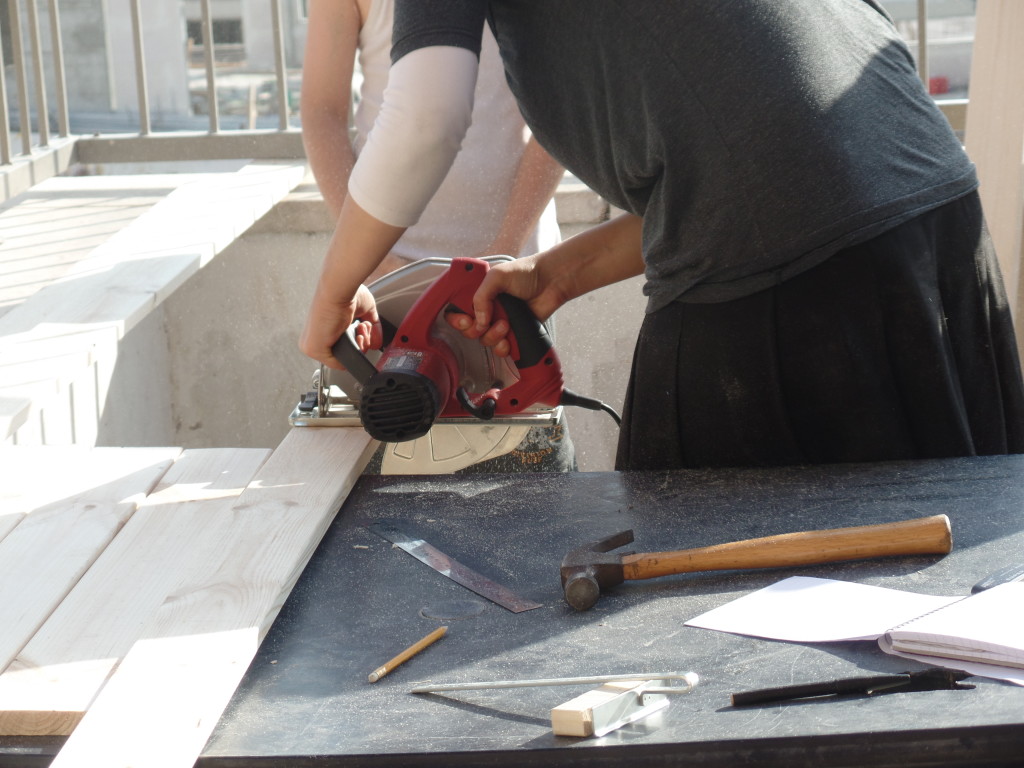
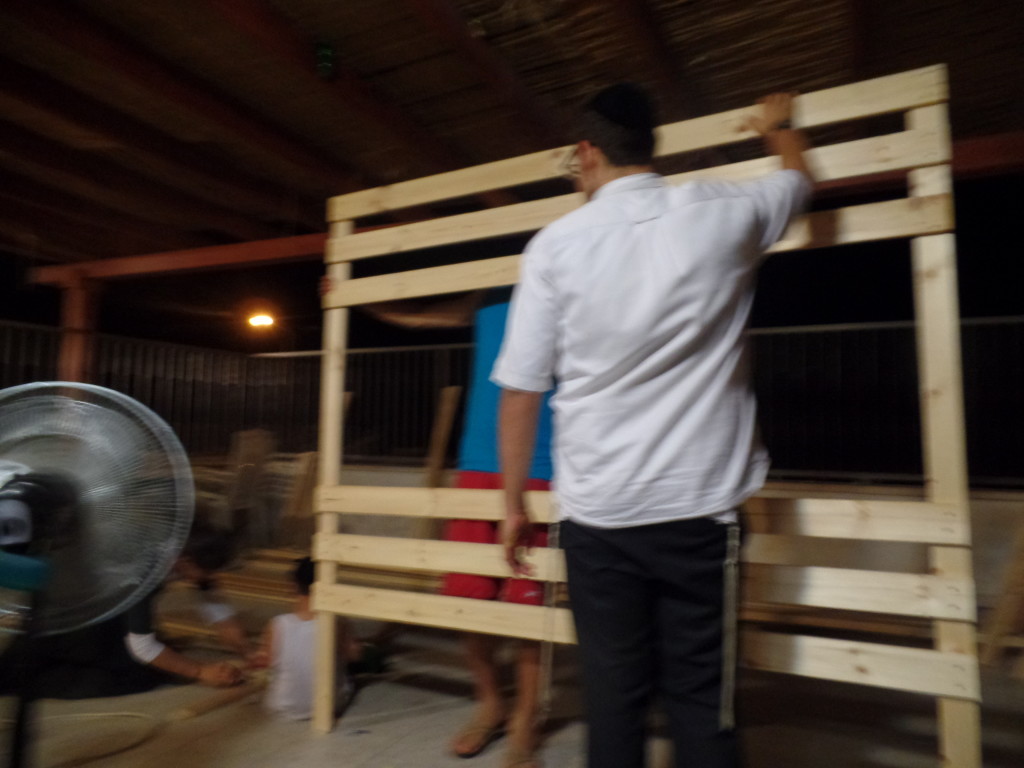
The day wore on and cutting all the boards seemed endless. Finally the wood was cut and they could get started putting everything together. The sun set, night began to fall and they were still working.
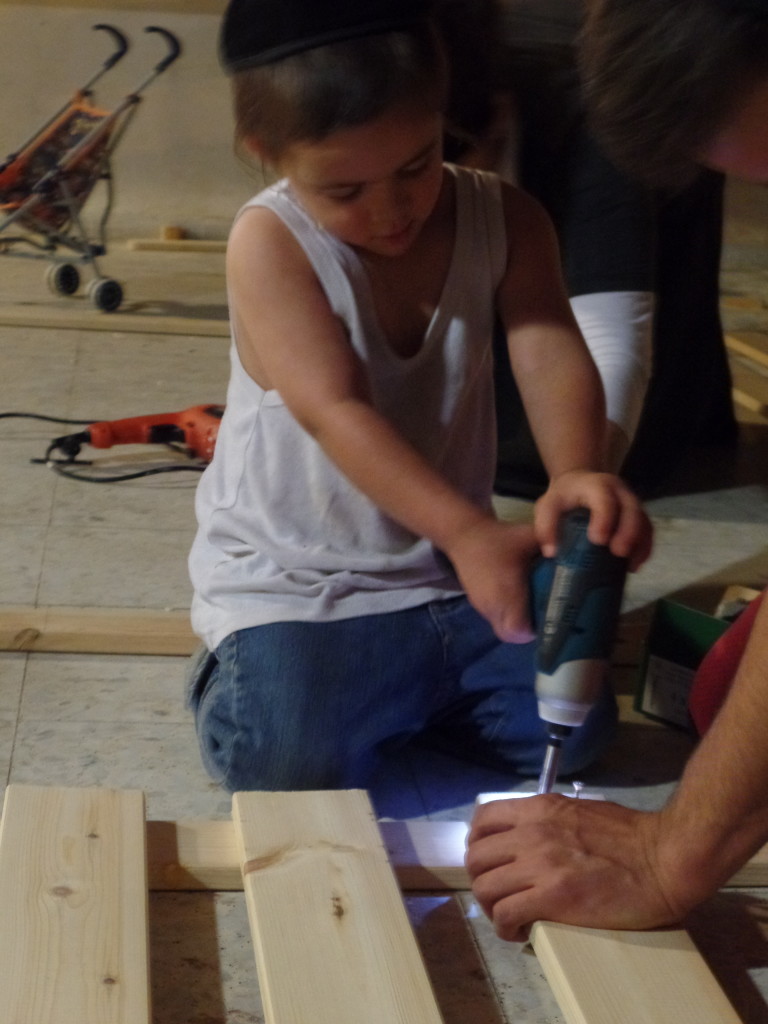
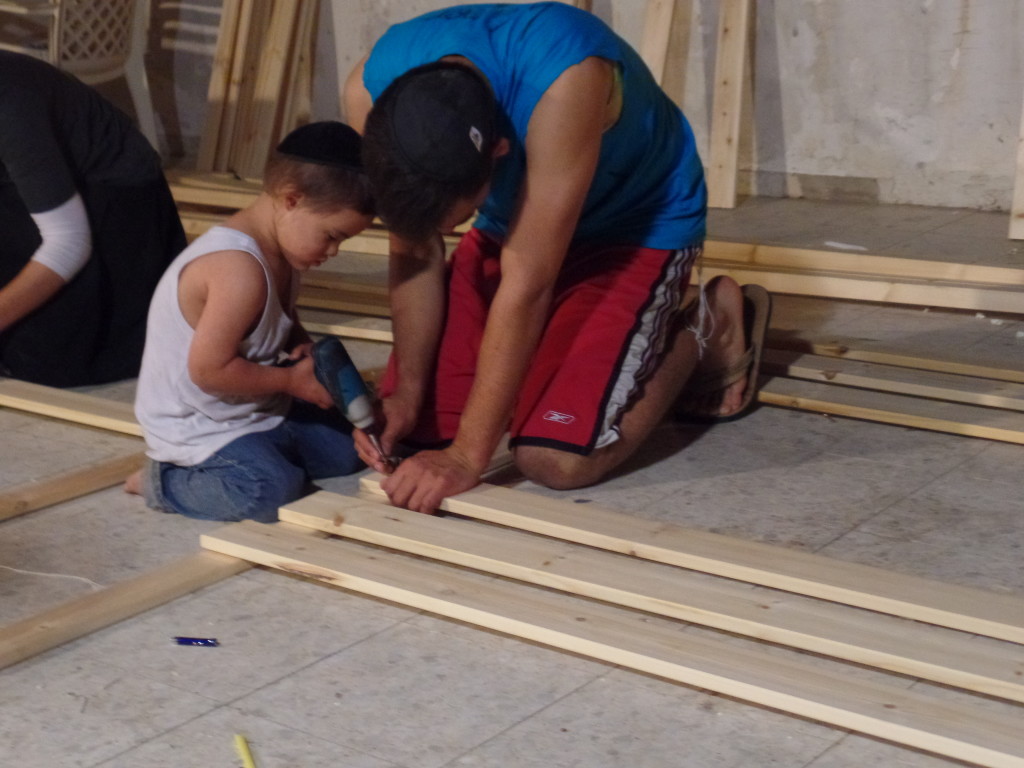
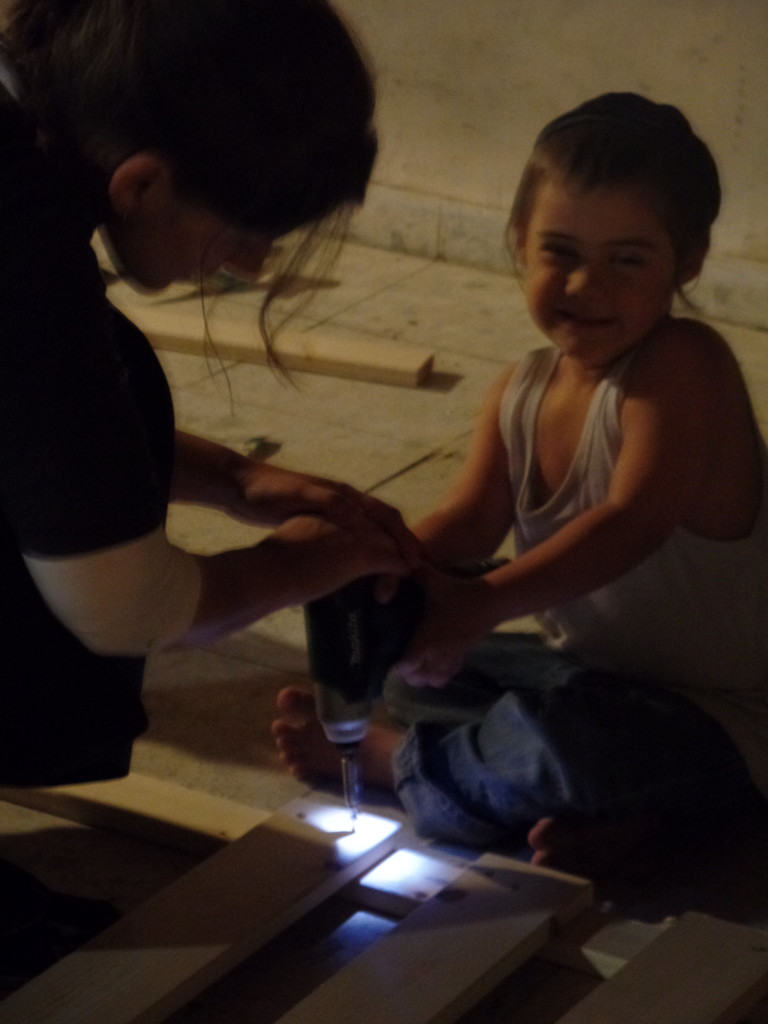
Ds4 took a nice long afternoon nap so when ds10, ds9 and ds7 were in bed he was wide awake and ready to help out!
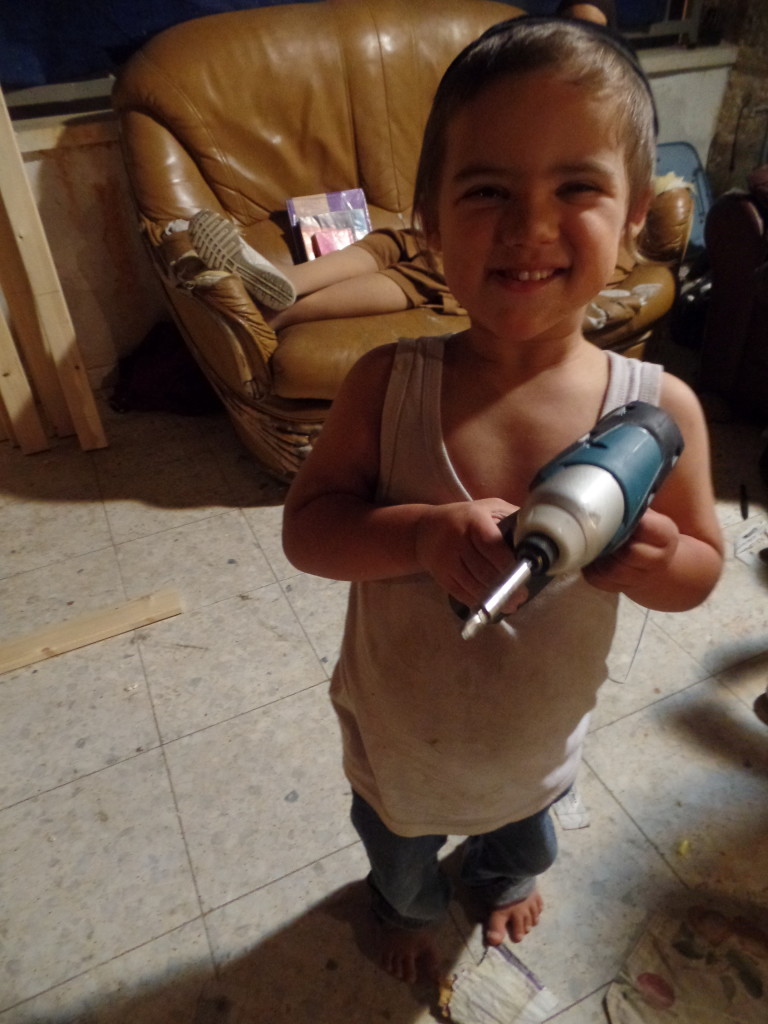
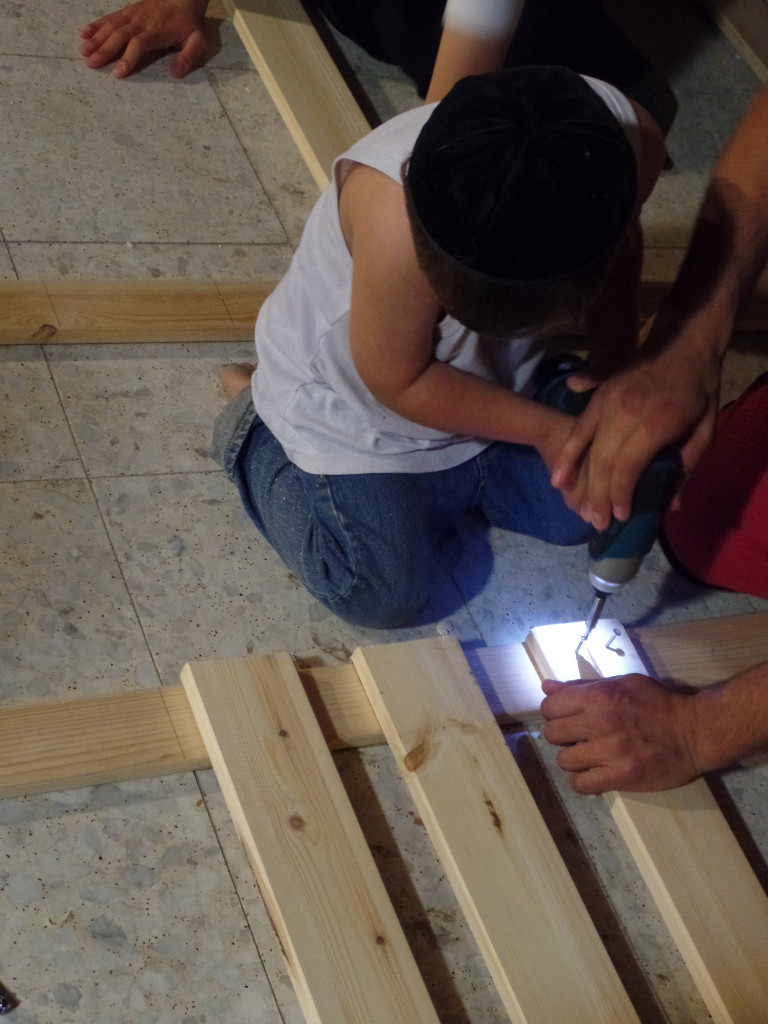
In our home, tools aren’t for for staged photo shoots – our kids learn to use them with supervision.
Ds4 then moved on to screw together the section dd20 was working on.
It was pretty exciting to see the sides taking shape!
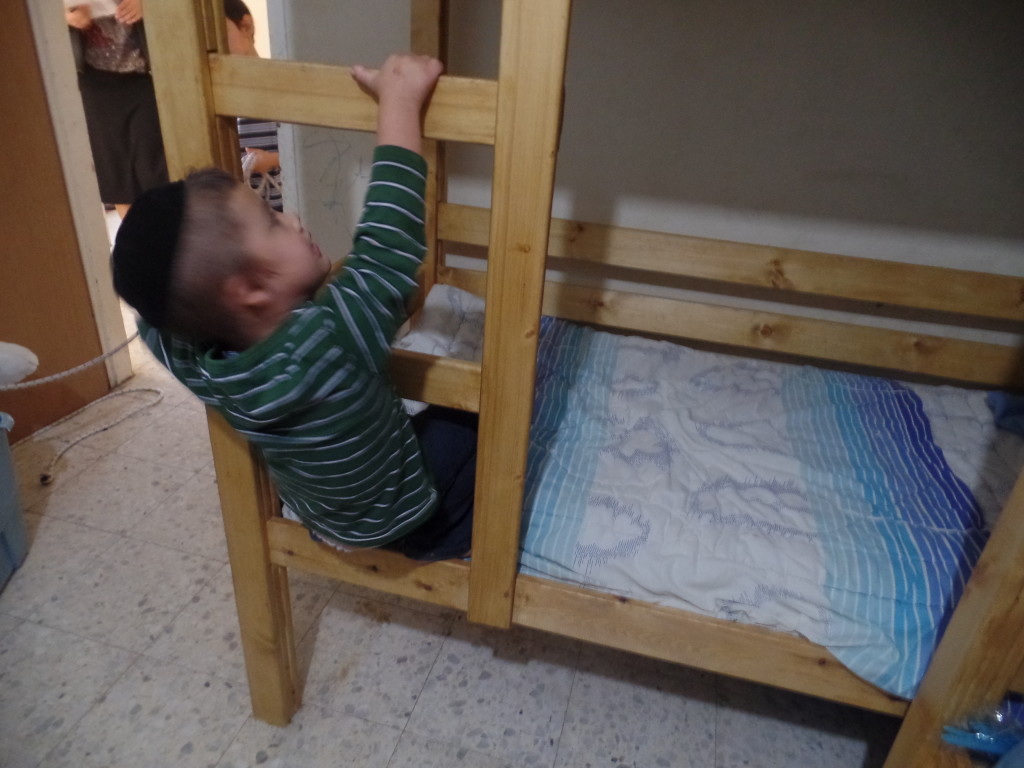
When we put them together in the boys’s room, they could hardly wait to climb up on them!
The bunk beds are sturdy and well-built. We’ve freed up a significant amount of floor space, made clean-up much easier – and now that there’s a fourth bed, ds4 sleeps in this room, too!
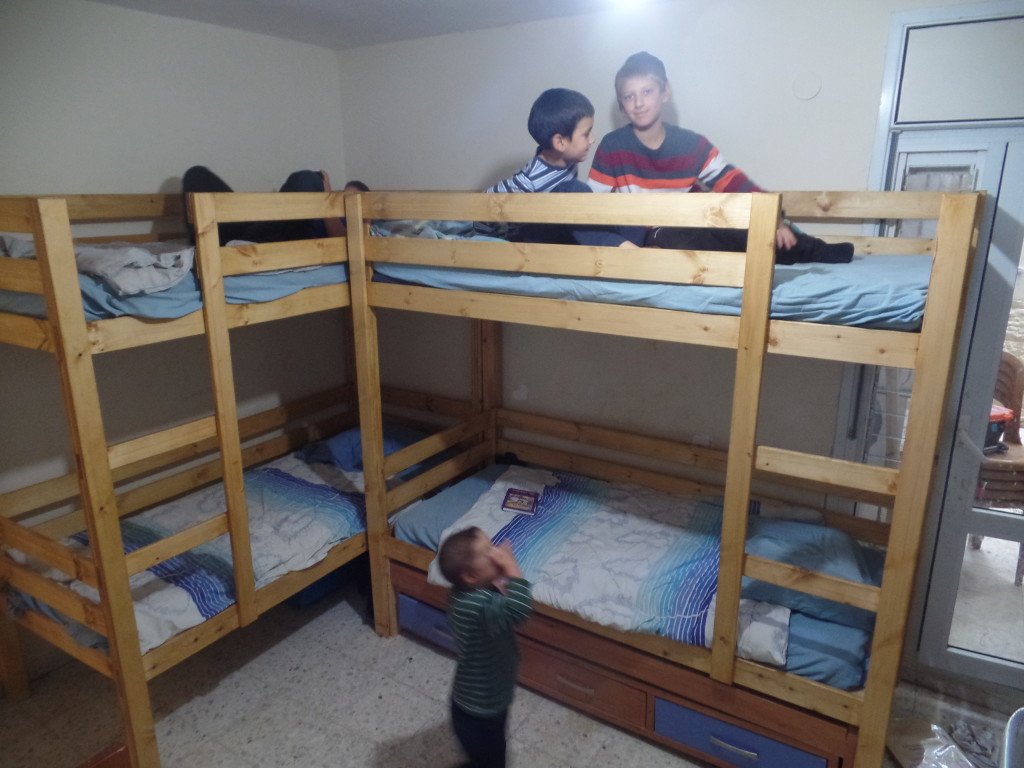
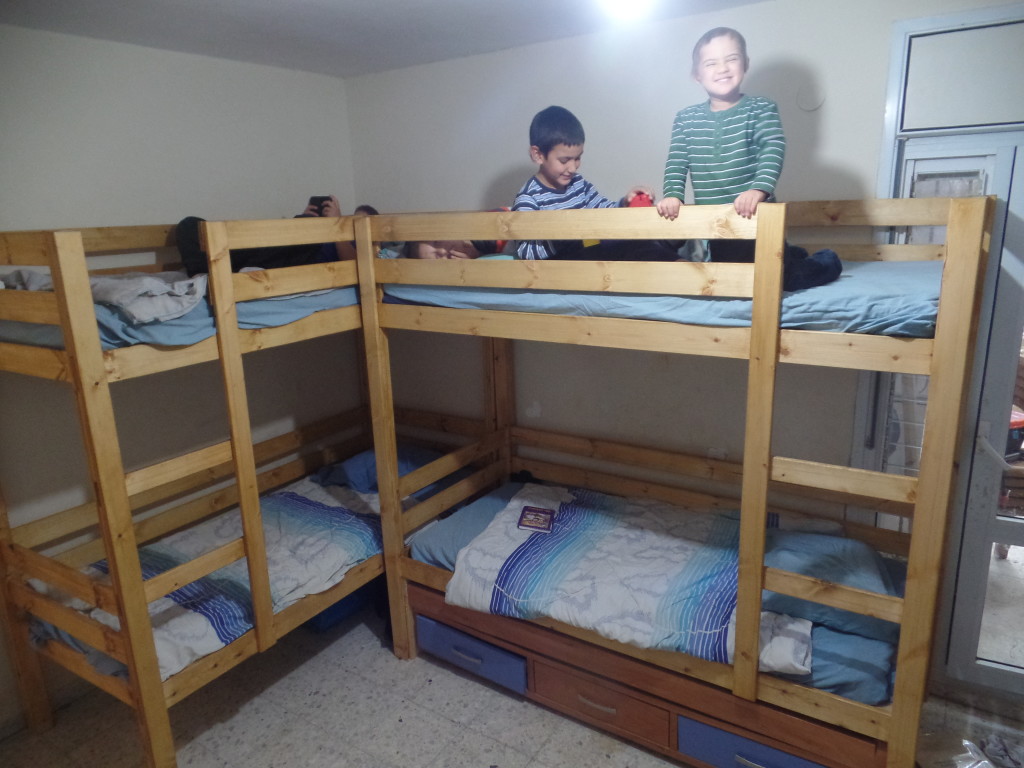
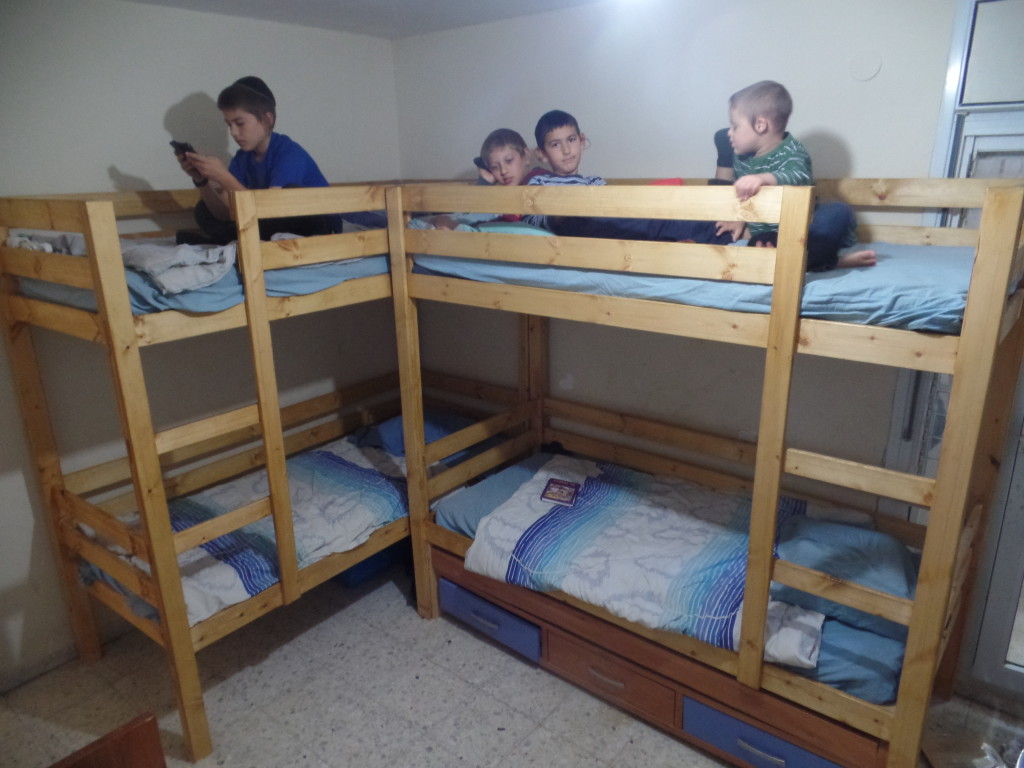
The beds are sized to fit our growing boys who will probably be in the 6′ range – ds17 added extra headroom between the bottom and top bunks so that an adult can sit there comfortably. This resulted in taller than usual bunk beds but we have high ceilings and there’s still comfortable head space for the child on top.
I wanted to maximize the space under the beds, and asked ds17 to adapt the plans so that the bottom bunk would be high enough for a trundle bed to fit underneath. We planned to build a trundle as a later project but then I had a brainstorm – we could cut down their previous bed (that I was planning to sell) and then use it as a trundle. Since that bed had a trundle that includes three built-in storage drawers we now have two trundles plus the storage space! Amazing how it all fits there, isn’t it?! The wood is a slightly different shade than the bunk beds but I decided not to be a perfectionist. 🙂 These two additional beds will be very helpful when we have extra people sleeping over.
We’re all happy with how the bunk beds turned out. I’m especially glad we could adapt our space to make it work better for our needs and simultaneously create an empowering learning experience for our children. This was a big project that took a couple of days to complete; all the kids (not just those in the pictures) were involved in the cutting, assembly and staining of these beds. And everyone has a tangible sense of accomplishment and appreciation now that they’re finished!
Avivah

Amazing. Terrific. Go Team Werner!😍😍😍😍😍😍😍😍😍😍😍😍!
great family team work!
So awesome! I wanted to do the same thing. It’s on the “some day” to do list;) How much did it cost you to make a project like this?
The wood including 300 shekels delivery fee (higher since we have to hire a crane to lift the wood onto our floor on the second floor porch) was 1600 shekels. Then I spent another 100 shekels on paintbrushes, sponges and safety goggles. It works out to about 850 shekels per bunk bed.
What a treasure “skill” to be able to work together & accomplish so much through synergy!
just WOW!!! I love it!
Yasher koach Aviva! What a great project teaching skills, building a feeling of accomplishment. Simply fantastic!
I love this post so much. The first picture is awesome. Woman with a power saw, heck yeah! I really love having all the kids involved hands-on. Absolutely priceless. 😀