Category Archives: food preservation

Another new grandson, canning activities, making cheese

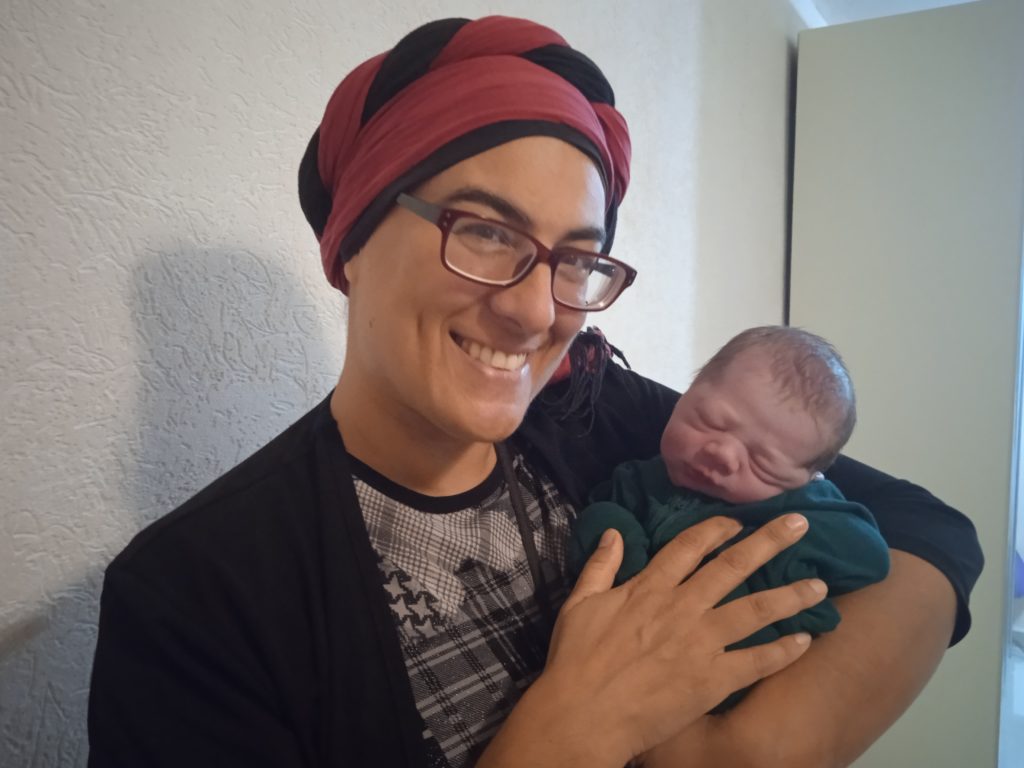
On Wednesday evening, my daughter gave birth to a baby boy!

I told my neighbor yesterday, and she looked confused. “I know…you went to Jerusalem for the bris.” No, that was two and a half weeks ago – this is a different daughter!

Who knew when our two daughters got married twelve days apart, that they would later have baby girls 2.5 months apart, and then baby boys 2.5 weeks away?! It’s so special.

Thank G-d, this is our fourth grandson in the last 12.5 months, making for, as my sister said, “A bumper crop of boys!”

This was my daughter’s third birth, but first homebirth. It was so nice to see her an hour later in her own space, looking relaxed and happy. As she said, a homebirth is a completely different experience than a hospital birth.

Now they’re here with us for a few days, and I’m tapping away at the keyboard with this tiny cutie pie on my lap.

One hour old.
————————————–

After dashing out to meet my new grandson, I came directly back home where several women had already arrived for the canning workshop that I was giving that evening. I offered a canning workshop for women in our community several weeks ago, and then did this second one for women who couldn’t make it to the first one.

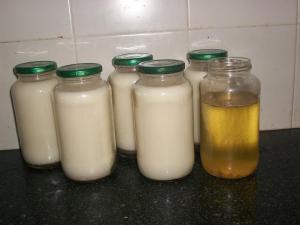
What I covered was waterbath canning, something that can be done very inexpensively with supplies that are probably already in your home or inexpensively purchased. Canning is a good strategy to make the most of great produce sales, to extend the seasonality of your fruits and vegetables so you can enjoy the when they are no longer in season.

Waterbath canning is good for high acid foods only – that means fruits, fruit juices and pickled items. So while it’s limited, it’s still a great skill to acquire for your frugality and self-sufficiency toolbox.

It took me some time to figure out how to can things here since the jars and lids are different from the US, where most of my canning experience was. I did a bit of canning when I first moved to Israel using recycled jars, then stopped until this summer. What changed things for me was finding where to buy jars very affordably, and how use them. It was a drive to get to the seller but worth it, since just a day after I bought them, someone in my community who does holiday food distribution called to tell me they had given out all the parcels and were left with some produce. Did I want any? Perfect timing!

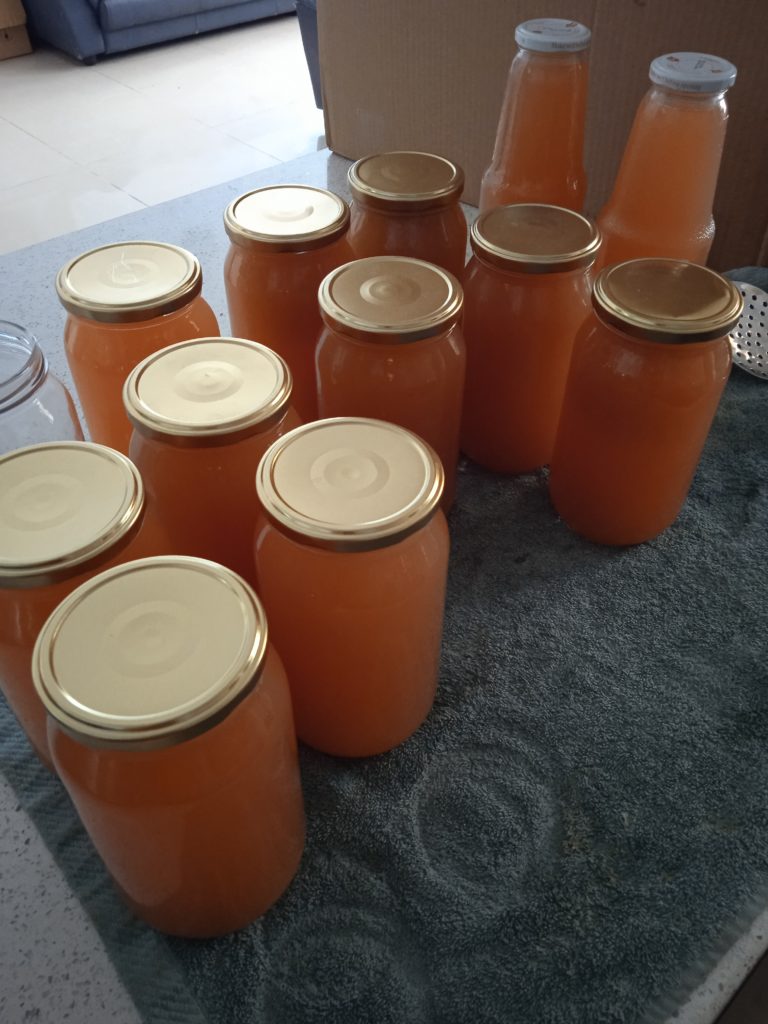
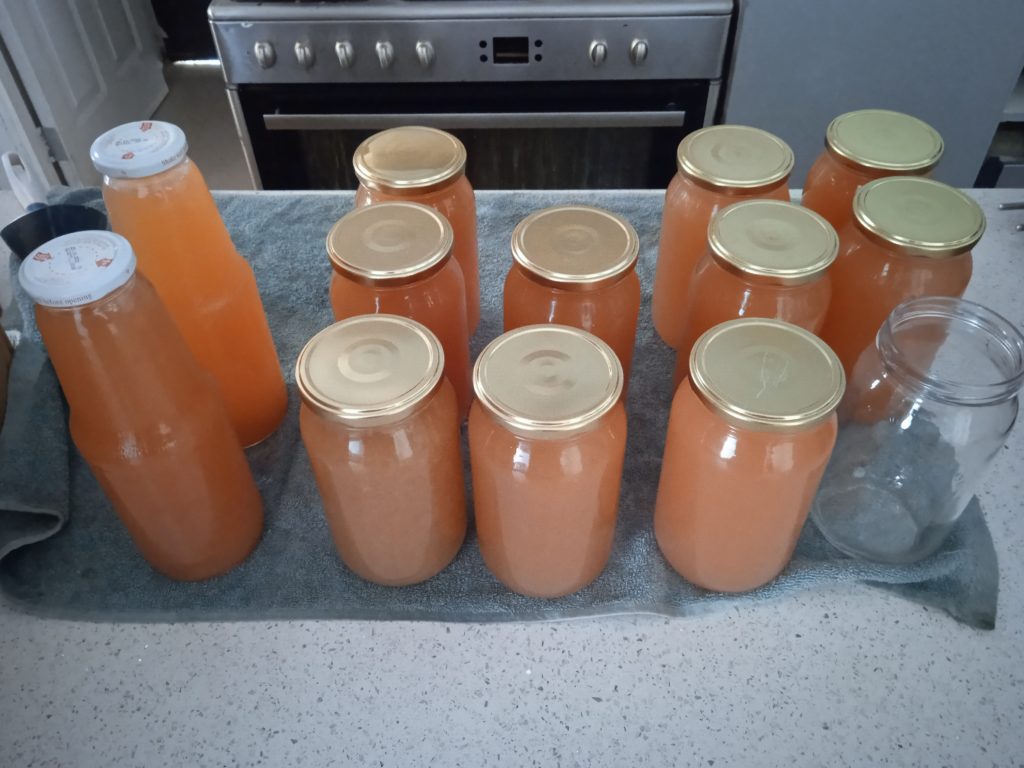
It’s been fun to get back into canning! There’s a limit to how much fresh fruit you’re going to get, even if it’s free, because there’s a limit to how much you want to eat, and there’s a limit to how long it will stay in your fridge before it goes off. In this case, I got a case each of apples and pears, and with the help of my new jars and large stock pot, preserved them so they are now shelf stable.

————————–

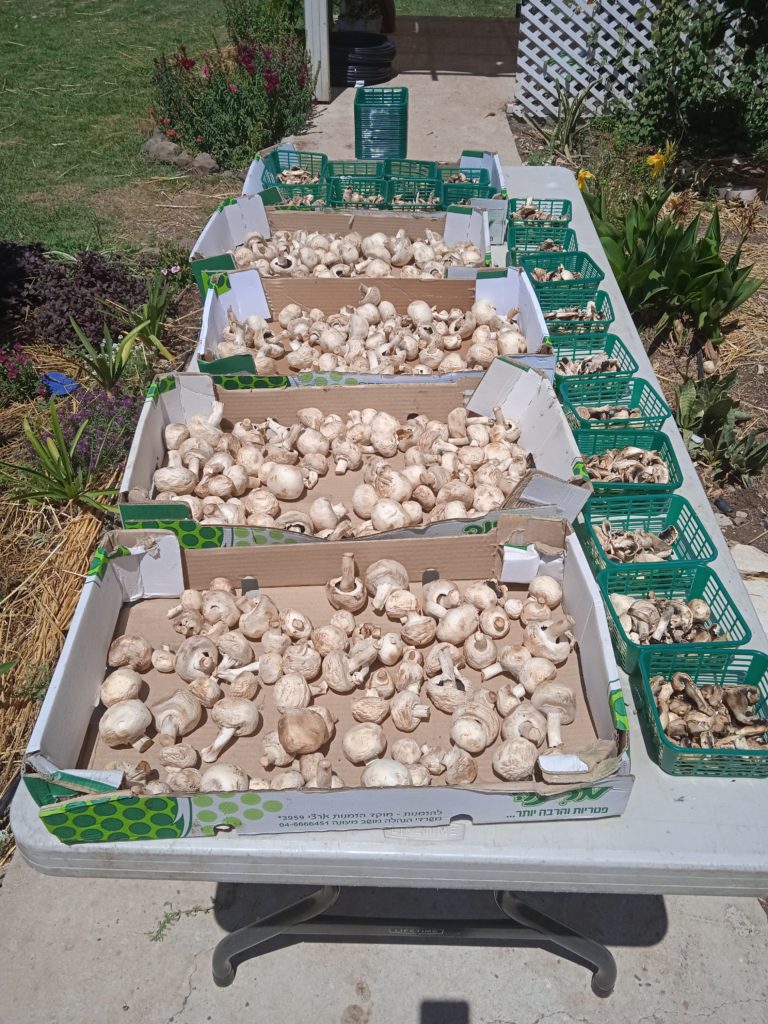
When I went to Jerusalem for the bris a couple of weeks ago, my son-in-law asked me if I wanted zucchini. He knows the quantities of food we go through, and he also knows that I find ways to use whatever comes my way! (Frugality tip – when something is offered and it seems like something that will be helpful, accept it even if you aren’t yet sure what to do with it! You can pass it along to others if you don’t use it.)

At his yeshiva, many families participate in a vegetable buying order; every week each family gets an identical box of assorted produce. They pick up their orders at a central location, and when someone doesn’t want an item that was in their box, they put it to the side. Anyone who comes to pickup his box can add to the extra produce put to the side or take it. On the Friday that we were there, there was a lot of zucchini, and my son-in-law brought me a case and a half!

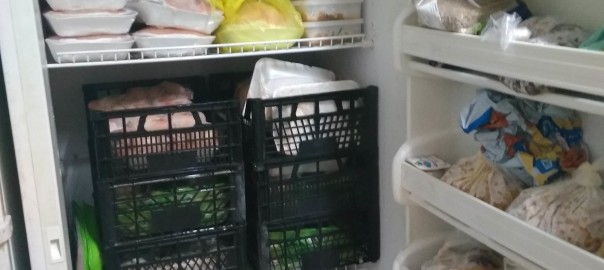
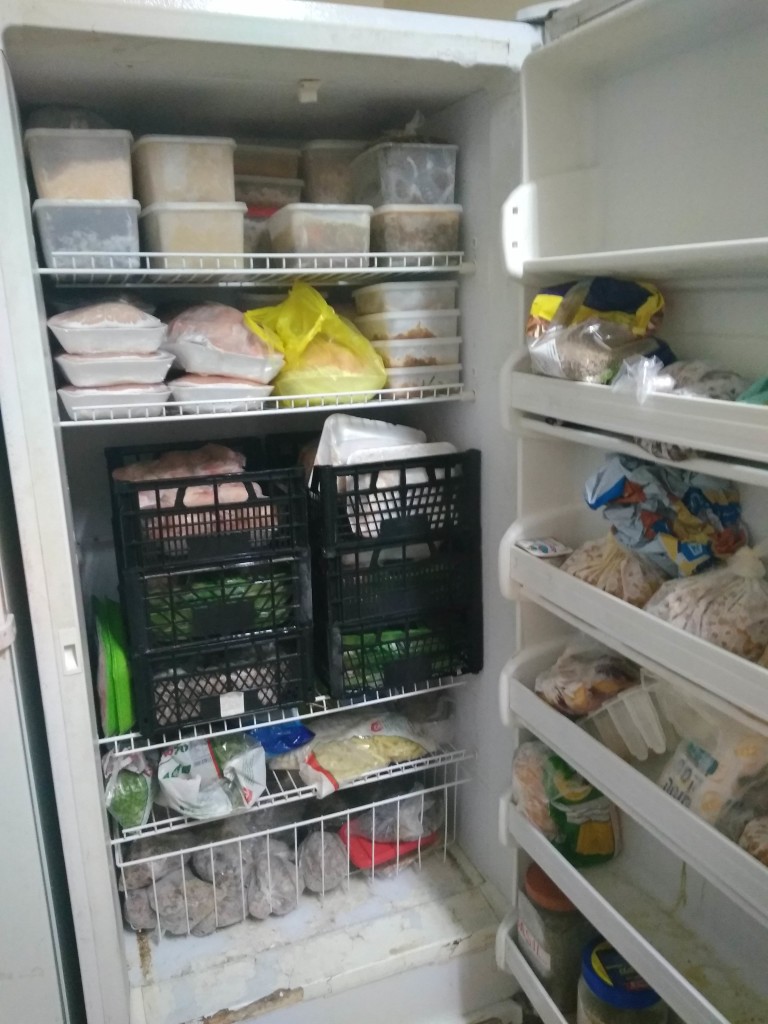
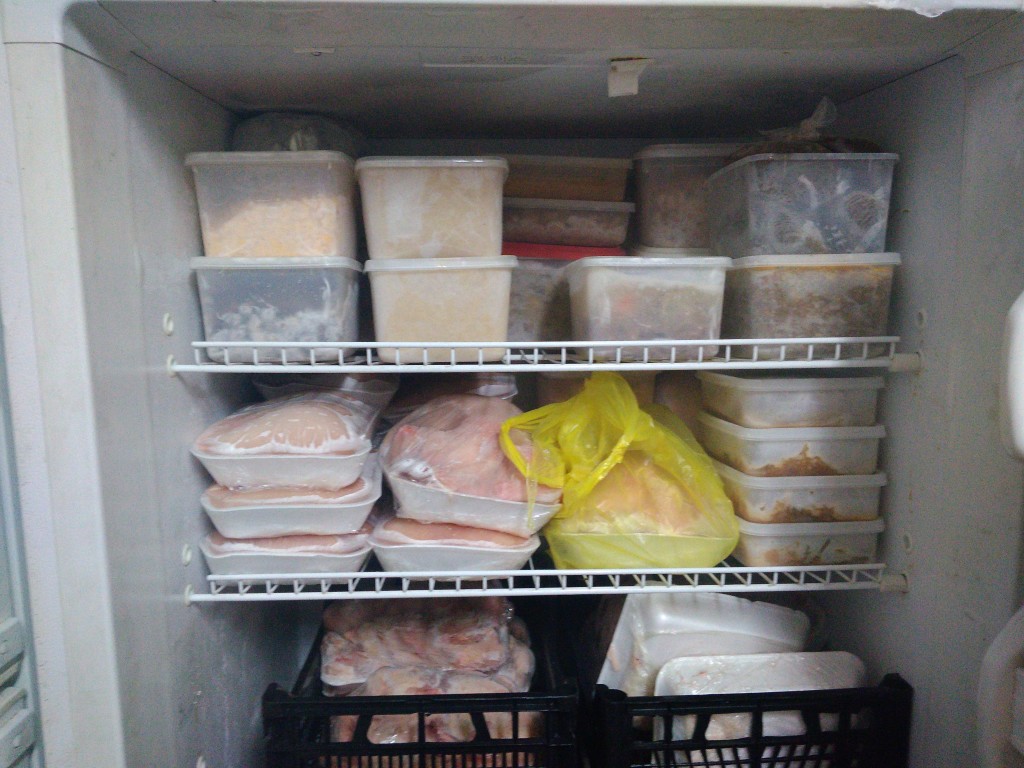
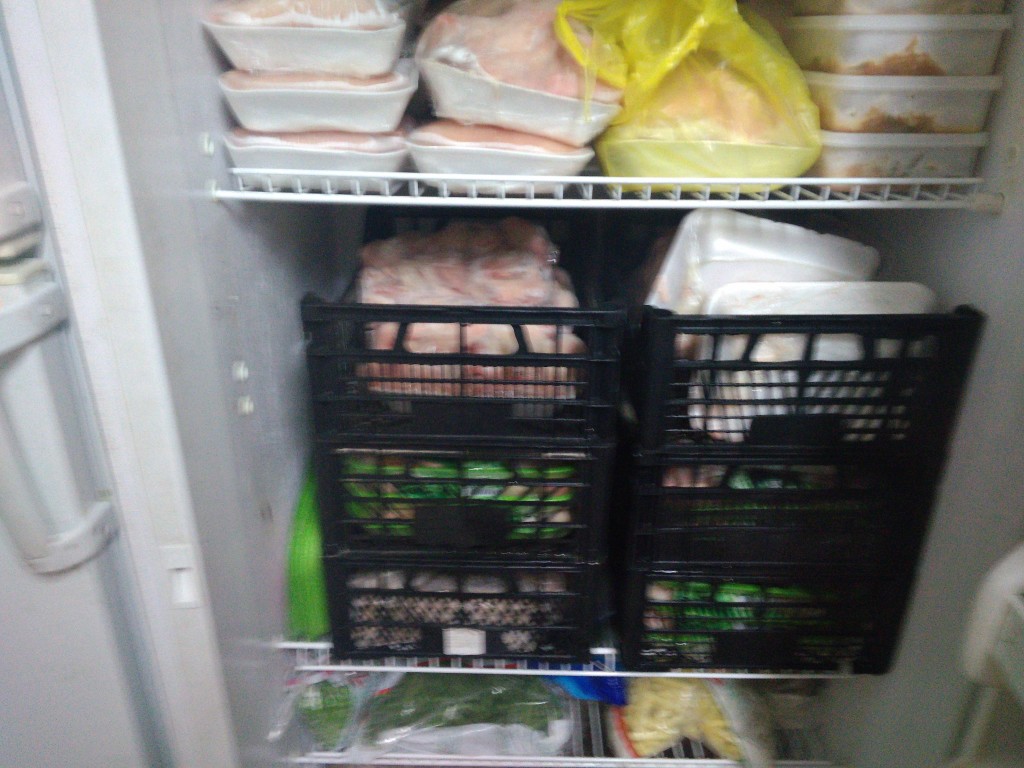
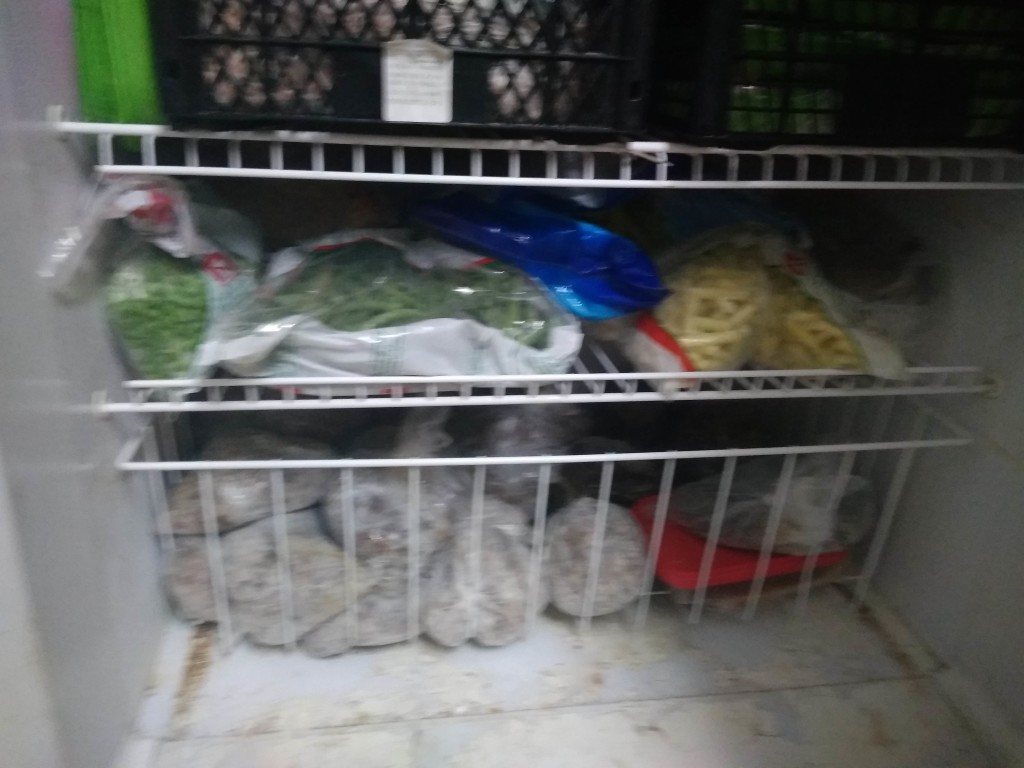
What to do with so much zucchini? I could have chopped them and frozen them, but am trying to get away from using my freezer so heavily. I don’t like to depend exclusively on something that is dependent on electricity. (I remember well being without power for a week in Baltimore when a storm came through, and trying to cook all the chicken in the freezer before it spoiled, as the daylight faded and I had just a candle for light.) I decided dehydrating the zucchini in the oven would be my best option, but all three batches failed – one spoiled (not hot enough), and two got overdone when the heat was too high. Our chickens enjoyed them, at least.

Since it was clear dehydrating wasn’t working in this case, I thought about what to do with the remaining zucchini. I could can them, but as a low-acid food my only choice was pickling them, and that didn’t sound appealing.

When I began canning in 2008, I made lots of the recipes in the canning books. They looked good and filled the jars, but they weren’t foods that we ate. I learned my lesson – now I won’t can something unless it’s something I know I’ll use.

I started cruising for zucchini inspiration and came across a comment about mock pineapple that got my mental wheels turning – I started thinking about zucchini as a potential palette to absorb other flavors. With some more looking, I found recipes for apple pie and lemon pie filling made from zucchini, as well as pineapple zucchini. It sounds strange, I know. I think of it like tofu. It doesn’t taste like much on it’s own but it can turn into whatever you want.

I made the mock pineapple, and when one of the jars didn’t seal when processing, we put it in the fridge and had some the next day. My boys told me it actually tasted like pineapple and was really good!

———————————

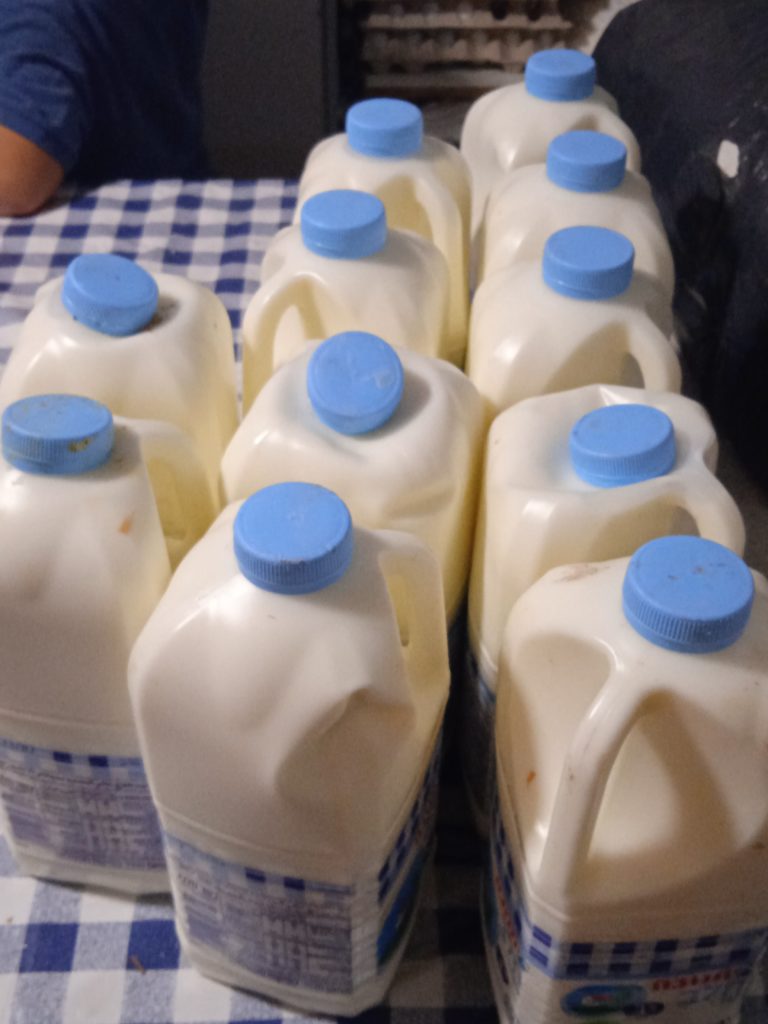
The mock pineapple was especially yummy with homemade yogurt, made by ds14. We got a call a couple of nights ago (from my other son-in-law) that a large synagogue was giving away tons of milk that was due to expire a day later. We got a bunch and while I was out at choir practice, ds14 was busy making loads of yogurt. Literally – he made an 18 liter bucket full! (You can see it behind him in the picture below.)

Making cheese

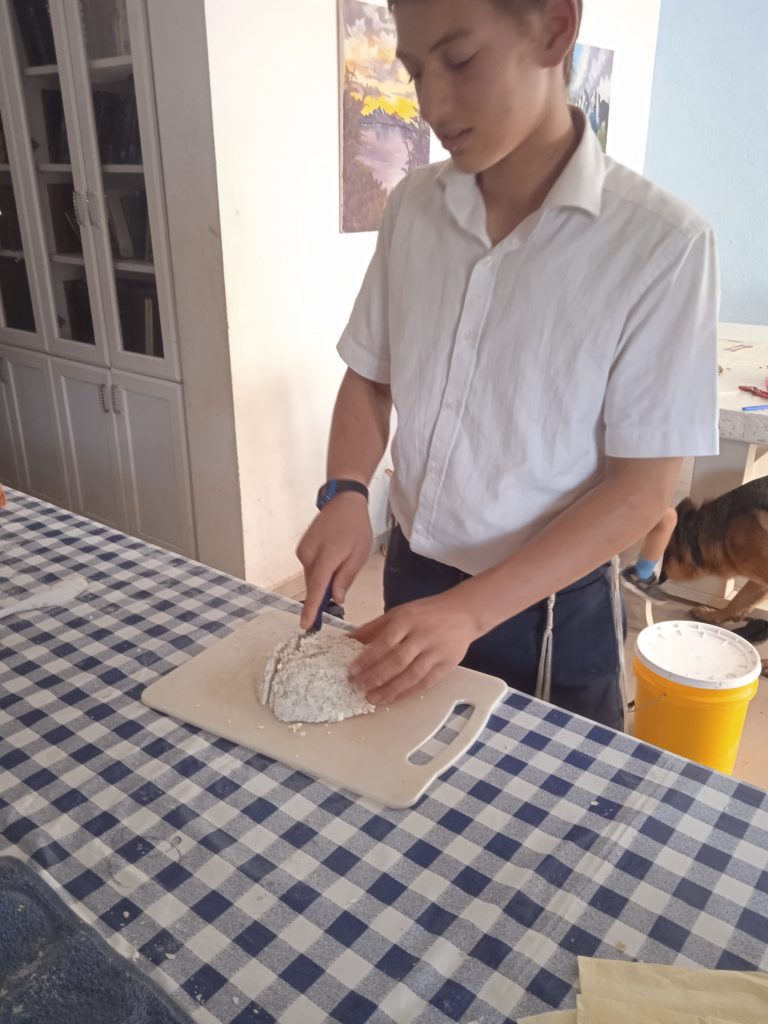
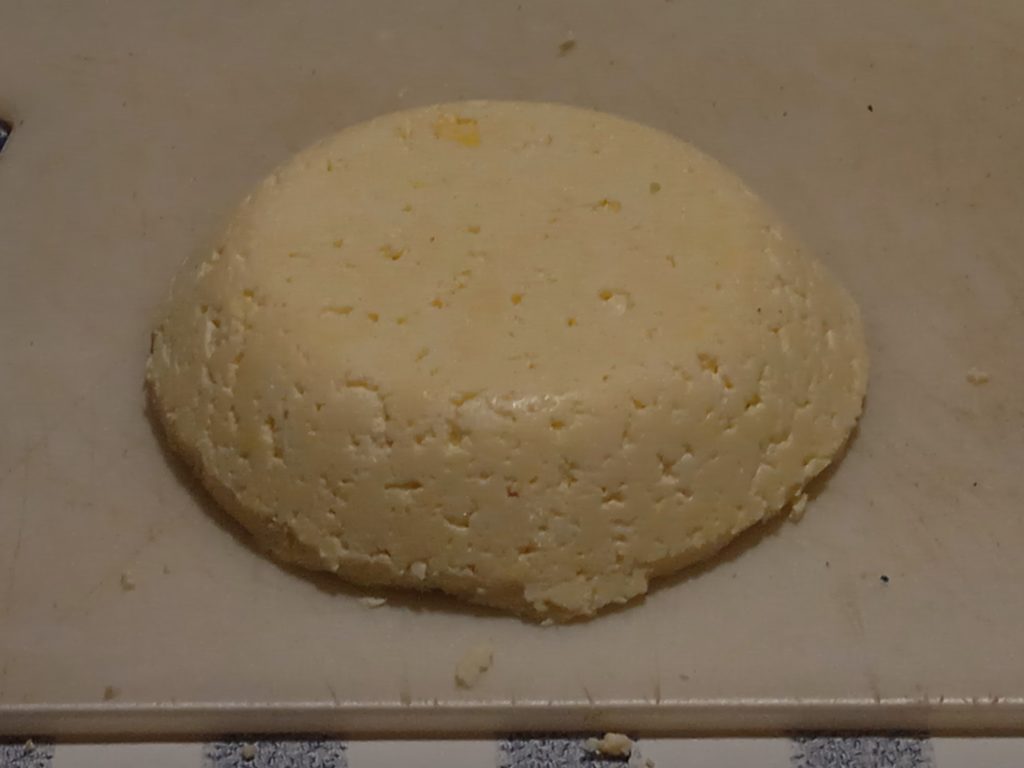
Then over the next couple of days, he and ds12 experimented with making soft cheeses, adding flavorings, straining them, weighting them down. They are using only lemon juice and vinegar for a curdling element, no rennet. My favorite so far was made by ds12, with milk, salt, eggs and yogurt. It takes a lot of milk to make cheese, and it’s fun to experiment when all the milk is free! My boys appreciated the opportunity since they’ve been wanting to experiment with cheese making for quite a while. (A while back ds14 did some cheesemaking, but that ended when the budget I allotted was spent.)

This was my favorite so far, by ds12 – it sliced up really nicely in firm slices. He weighted it down quite a lot to squeeze the liquids out.

The shalom zachor will be at our home tonight, and today will be a busy day getting ready for that as well as Shabbos. Dd21 and ds15 came home last night so they can be here for the shalom zachor (they were initially planning to only next week for the Thursday bris and then stay for Shabbos), and since my birthday is tomorrow I appreciate them being here even more!

Avivah

Making homemade grape juice – so easy!

I’m fortunate that being in an more agriculturally oriented area, that sometimes I get really good deals on produce. It tends to be feast or famine (like when friends of the farmer picked and shared watermelons left in the field after harvesting with us and many others, and every day for a couple of weeks our boys ate an entire watermelon. Seriously. Every.Single.Day.). It’s not predictable at all. But when it works out, it’s really nice.

Last week I got a great deal on green grapes (free :)). I decided to get more than what I would use for eating during the course of the week, and to experiment with using them for making grape juice.

It’s been a loooong time since I made homemade grape juice. (Nice thing about having a blog is I can check details like this – it’s been twelve years!) And I didn’t know if green grapes would make good juice. But with the price being what it was, it seemed like a worthwhile experiment. 🙂

Ds13 did the first batch, and he did it his way. Though I shared the general instructions with him, he didn’t feel there was any point in heating the grapes before blending them and then straining, so his batch was totally raw. Very fresh tasting. A day later it began to ferment, and then he had fizzy grape juice. I thought that improved the flavor!

But I wanted to do it the traditional way, so I made a batch and then ds12 made the final batch. It was interesting that the color changed when cooked. The raw juice was the color of the green grapes, but the cooked juice had a pinkish hue.

Here’s how complicated making grape juice is: 1) destem the grapes (that’s the most time consuming part). 2) Put them in a pot with some water (I didn’t add too much, but if you wanted it to be less concentrated or added sugar, you could add significantly more water), and sugar if you desire (we didn’t desire :)). 3) Let boil and then continue simmering on low for about fifteen minutes. 4) Mash the grape mixture with a potato masher to release the flavors. (You can also use a food processor but this was easier.) 5) Strain. Voila!

It’s fun to make something that you’re used to thinking of as an item you need to buy at the store.

I don’t have a lot of freezer space for a bunch of bottles, and I had just bought some glass jars the day before, so we decided to preserve the juice so that it would be shelf stable.

I haven’t canned in AGES. I used a couple of recycled juice jars, and all the rest were standard glass jars with pop-top vacuum lids. (These lids vacuum seal when water bathed.) Since I could only fit six jars in the pot and I wanted to go rest, I asked ds13 to finish canning the last jars.

When I woke up, he had cleaned up the kitchen for Shabbos, the jars were not only taken out but had cooled and put on the pantry shelf. He was so excited to show me! It really is gratifying to do something like this; I know that very pleasant productive feeling.

From our free grapes, we made 13.5 liters of sugar-free, all natural grape juice (there are four cups to a liter). We canned 11.5 liters; the two liters of raw juice we didn’t heat process and enjoyed as is. We opened the first bottle that evening for Shabbos kiddush, and all agreed that it was very tasty. We should have enough to get us through the holidays, when we can share it with visiting family!

Avivah

Dehydrating mushrooms in the sun

Yesterday someone dropped by and brought along a couple of small baskets of mushrooms. He said they were being given away, and because the location they were given out was outdoors, they were going to spoil quickly.

I headed over and got lots of mushrooms in perfect condition, and decided to maximize the bounty by dehydrating them to use at a later time. However, a piece on my dehydrator burnt out a few months ago, so it’s now a bulky plastic box that isn’t of much use. I had been thinking of building a screen covered kind of box about the size of the dehydrator, that I could slide the dehydrator trays into and use outside. But that hasn’t happened so I had to improvise if I wanted to take advantage of this opportunity!

In any case, I live in a hot, dry climate, so doesn’t it seem like a waste to use a machine to mimic what nature is doing all day long for free?

I sliced up several of the baskets of mushrooms, then put them back in the baskets and set them out in the sun. Meanwhile, I thought about how to dry the rest of them. Maybe, I mused, I could thread the whole mushrooms with fine fishing line and string them up in the sun.

This morning I thought of an obvious solution. I set up a folding table in the sun, then put the cartons the baskets of mushrooms came in, upside down on top of the table. Then I put the mushrooms on top of the cartons (so there would be air flow underneath) in the original baskets they came in.

Dehydrating mushrooms

You can see the sliced mushrooms in the front are dehydrating very nicely (they had a head start over the whole mushrooms). I went out after a few hours to check on them, and realized if I put the cartons right side up and put all the whole mushrooms inside, they would dry even more quickly and it would eliminate the need to rotate them. This was a good option once they were dry to the touch.

I’m very optimistic about this! If this works well, it was quick and easy to set up and because it’s so hot, there’s not a single fly or insect anywhere near them! (I will cover them with a screen if I see any flies.) I’m hoping they’ll all being completely dried by the time the sun goes down tonight, and also hoping to experiment further with solar dehydration over the summer.

Edited to add: the sliced mushrooms were finished in a day; the whole mushrooms were almost finished in two days but I put them out for one more day to make sure there wasn’t any moisture that could lead to molding once I stored them. Here’s what it all looked like once it was done:

The sliced mushrooms are in the container on the front right; the other two containers are filled with whole dried mushrooms, which can be used whole or cut up when cooking. As you can see, they shrink down quite a bit and don’t take much space to store.

I did keep one case of mushrooms to use fresh for Shabbos! The last time I made marinated mushrooms they were a big hit.

Avivah

Why I bought an overpriced, beat up freezer

This summer, I saw a used freezer listed for sale. It was priced too high, and when I went to take a look at it saw that it wasn’t cosmetically the best. A shelf was missing from the main freezer, a shelf support was missing on the door, and someone had tried to repaint over the very bottom. And the owner was only willing to go down a hundred shekels on the price.

When I buy used, I like to buy things that are in excellent condition – it doesn’t have to look brand new but I want it to look really good. And I like to buy things that are a good deal. Nothing about this freezer was a match for me.

Except for one important feature… and I bought this beat up old freezer! Why in the world did I do that?

With my oldest daughters married and my older teenagers all not available, I was feeling maxxed out and realized I needed some kind of help. The younger boys were a big help but I didn’t want to ask too much of them, and I couldn’t keep doing everything else myself – the shopping, the cooking, the laundry, the cleaning, the million and one other things that go with being a parent and keeping a house running. And homeschool. And spend relaxed time with my children. And give parenting classes. And see clients privately.

Too much.

Either I was going to have to pay someone to cook or clean for me (which in 26 years I had never done), or I was going to have to find some other kind of help.

This was my solution. This 14 year old massive American freezer that wouldn’t win any contests for looks.

freezer overview

The winning feature? Its size.

They don’t make freezers this big here; this was  brought over on a lift when someone moved here. I knew the additional space would allow me to cut down on how often I shopped and maximize good deals when I found them. I’d be able to cook in advance and save time on busy evenings. That would mean fewer things taking up my time and energy.

I paid 600 shekels and while it wasn’t technically worth more than 500 max, it was worth every shekel to me!

I’ve already saved tons of money by stocking up on chicken when the prices are low. And I’ve saved travel time and shopping time and gas costs in being able to shop less often. But more than the money savings – and that’s a significant reason to have a freezer – this has made my life so much easier!

It’s kind of like having a personal assistant. Kind of. Because while I still have to do the work, I can maximize my efforts by preparing two times the recipe, serving one and freezing one for a different night.

I can’t tell you how much I love this!

Here’s the picture tour. 🙂


freezer top

Top shelf: frozen meals (each labeled on top – the labels on the side tend to fall off).

Second shelf down: on the left, frozen chicken breasts and whole chicken. Bought on sale, of course. About 25 kg at this moment.

On the right side are lunches for my husband to take to work – he takes one out every evening before going to bed and it’s defrosted when he leaves early in the morning.


freezer middle

Here’s my solution to the missing shelf. I didn’t want to waste all that space and it was way too high a space to stack things.

I got these stackable plastic crates for free from two different supermarkets – crates of vegetables are packed in these and then thrown away. It would be nice if they fit perfectly and used every bit of space but it’s pretty darn good! This is all chicken wings; I bought 30 kg when they were on sale for 4.90 a couple of weeks ago.

freezer bottom

On the shelf under the chicken wings are frozen vegetables and fish.

The bottom is a pull out drawer and it filled with bags of cooked and shredded or sliced chicken gizzards to the left, and bags of frozen mashed bananas on the right.

(And on the very bottom you see the scuffy paint job. At some point when it’s empty, I’m going to clean it all out, scrape out the old paint and silicone it. I think that would look much better. But even though it’s ugly it’s still very usable so there’s no urgency to do this any time soon.)

In the door I have bags of cooked beans and other odds and ends. I have a couple of ideas of how to build a substitute door support for the top door shelf, but I haven’t needed the space yet so again, not pressing.

And now that I’ve reworked the space in our new kitchen area, we have room for a fridge and the freezer side by side, so it’s super convenient and easy to access.

I’m telling you, the simple things in life can make such a huge difference!

Avivah


Tips for eating healthy on a budget

There is a commonly expressed frustration about how expensive it is to eat healthy on a budget. And it’s true that specialty products and organics tend to be quite pricey.

While in the US I had different shopping techniques and resources that dramatically cut my cost on even those specialty foods, there are some basic tips that apply wherever you live.

  • Eat simply.  Stay away from specialty ingredients, and stick to the basics. I don’t try to serve meals that will grace magazine pages – I want food that will be filling and nutritious for my family.

For example, for breakfast I mostly make hot cereal (oatmeal, polenta, rice pudding) or eggs. There was a long period during which I made quick breads, muffins and breakfast casseroles but I don’t have the energy or additional kitchen helpers for that now.

For Shabbos breakfast I make granola, yogurt (for 23 shekels I can make close to four liters with minimal time and effort( or buy cornflakes (I get 1.5 kilos of cornflakes for 20 shekels – this is enough for two or three weeks for our family.) Nothing exciting but it’s affordable, filling and tastes good.

Sample costs: for oats and rice I pay 10 shekels for 1.4 kilos, polenta is 10.90 a kilo. I use up to half a kilo to make enough for a generous breakfast when everyone is home (a third of a kilo is plenty otherwise). This is a maximum of 5.50 shekels for my biggest batch, which is enough for 8 kids, four of whom eat adult quantities.  I pay 24 shekels for 30 eggs (80 agurot per egg) – the younger kids eat two, the older kids have three each.

  • Know what prices are so you can recognize a good deal. Over the holiday season, chicken prices went through the roof. A couple of weeks later, my husband bought some whole chickens that he thought were a good price. They were a very good price – for the holiday season. The price was only okay two weeks later.

Many years ago I created a price book to get a clear idea of how much I was paying for each ingredient that I cooked with per pound. It was super helpful to get this kind of clarity. While I don’t have the need to do that now, I have a pretty good sense of what a good price is for most of the items I regularly buy.

If you don’t have any idea what a good price is, take some time to create a price book. It’s basically a listing of how much you pay per unit for each item that you regularly purchase. It’s really worth it – it will give you the confidence to know when something is a really good price or just an average price.

  • Buy on sale. Many stores have weekly loss leader sales. Right before the holiday season I bought about 20 whole chickens because the price was so good. The butcher told me that the store owner was selling the chicken for four shekels a kilo less than the price he paid for it!

Why would he do that, you might wonder? To get people into the store, since most people will buy other things not on sale once they’re already there. I have saved so, so much money like this. It’s always interesting to me that I shop in the same stores as everyone else but I spend much less – this is one reason why.

Here’s an old post of mine on tips for saving on food – they are still useful!

  • Buy seasonal. Whatever is grown in that season will be less expensive. 

If you pay attention, you’ll start to notice seasonal trends – for example, cabbage and avocados are getting very cheap right now, at the same time that tomatoes and cucumbers are going up.

That means that for example, though in the summer months I make lots of tomato salad, in the winter I shift to other vegetables.  in the winter tomatoes are out of season and the price goes up, so I shift away from tomatoes. I hardly use avocados once the weather is warm but use loads in the cool weather! This is one reason I don’t have a yearly menu plan – because that would necessitate buying ingredients regardless of the pricing.

  • Stock up when the prices are low. It’s worth finding some extra pantry space so you’ll have a place to store things so you can stock up when the prices are low. There are things you know you’ll need week after week – why spend more than you have to?

Don’t think that means that your budget will go wild – it won’t. Some weeks you’ll buy more of one thing, other weeks you’ll buy more of something else. It all balances out.

Stocking up also applies to perishables. While it’s not practical to buy massive amounts of fresh produce if you’re not going to be able to use it before it goes bad, consider preserving it in some way (freezing, drying, canning). This week I saw ripe bananas marked down to 2.50 shekels a kilo – I bought two cartons full. As soon as I got home, they were peeled, mashed and frozen in two cup portions for future use in baked goods and shakes.

Here are some examples of things that can be preserved and how to do them – if this interests you, I have separate categories in the archives with many posts on specific food preservation projects I did.

Making strawberry jam and canning cherries bought on sale

My first canning experience – turkey bought on sale

Canning to the rescue – preserving produce before it goes bad

Explaining food dehydration

  • Buy in bulk. There are some items that are much cheaper when bought in bulk. For me these are mostly specialty ingredients – things like raisins, peanuts, sunflower seeds, pumpkin seeds, flax seeds, shredded coconut, coconut flour, almond flour, coconut oil.

But make sure you know what a good price is – don’t assume that because it’s being sold in bulk it’s cheaper. Often it is, but sometimes the savings is so small that it’s not worth the extra storage space or the large initial financial outlay.

How to buy in bulk

Buying in bulk through supermarkets

Add legumes. Beans are super affordable and versatile. There are many, many ways to serve them and they can extend your food budget considerably. That makes more room for the pricier foods that you’d like to include.

How to get kids to eat beans

Helping kids deal with rocket attacks on Israel

rocketrange[1]I got a worried email from my sister a couple of days ago, who has been following the latest news in Israel.

The latest news is that the internationally recognized terrorist group, Hamas, has been shooting hundreds of long-range rockets into Israel.  As I write this morning, 365 rockets were shot into Israel in the last 72 hours.

This began with southern Israel and is spreading throughout the country, to the Jerusalem and Tel Aviv area.  As of yesterday the first warning sirens were sounded in the northern part of the country as missiles reached the Haifa area; in the past missiles to this part of the country came from Lebanon further north of us, but for the first time these are being shot from the south.   We’re seeing  rockets with a very far range.

Miraculously, no one has been killed.  Truly a miracle.  However, there have been people who were seriously injured.

Hamas terrorists are using their citizens as human shields, deliberately encouraging people to flock to buildings that the Israeli army has warned them in advance to evacuate (this link is to a video in Arabic by terrorist leader clearly saying this is their strategy); the Israeli army aborted the planned strike as a result of the presence of civilians.  This article in Slate details Israel’s effort to spare Gaza civilians and calls it ‘exemplary’.  Meanwhile, the social media is being flooded with images of Arabs who were killed in Syria with claims that these are current pictures of the work of the Israeli army in Gaza; the notoriously anti-Israel BBC has said these are fake.

As for the millions of Israeli citizens who are being targeted…you won’t hear much about them in the media outside of Israel.

I’ve been thinking about how to present the rocket attacks to my kids – which I didn’t do an especially good job about so far – and now how to prepare them in case rockets are shot into our area.  It’s a balance to give them information but not to unnecessarily frighten them.

Here’s a song that was created by someone who saw that thousands of children in southern Israel (which has been targeted with rocket attacks for years) were very traumatized.

I’m impressed with the simple genius of this song, to turn a terrifying situation into something a child can deal with, and to help them release the fear and anxiety.  If you’ve ever heard one of these warning sirens, you know that just hearing one of them makes your stomach drop and your heart begins pounding.  That’s aside from waiting to hear the ‘boom’ of the rocket when it hits and then the all clear.

I’ve practiced drills with our kids a couple of times and hope that going to the bomb shelter won’t be necessary.  But for those in different parts of the country, this is already a reality and particularly for those who are experiencing rockets landing in their close vicinity, it’s terrifying.

This morning I saw this list of 7 positive group bomb shelter activities.  (Some people have homes with specially built safe rooms but our apartment was built a couple of years before this became standard building practice.)  These can just effectively be used with your children as with a group of strangers in the bomb shelter; they are all activities that encourage a positive energy and focus on something good.

I think the best thing for kids to have is a calm parent or teacher since they take their cues from us.  Easier said than done, right?  So helping our kids deal with this means finding a way to deal with it ourselves.

I like the above song because it gives a parent a concrete tool to help a child deal with the situation.  I decided that telling or reading a story would be most centering and grounding for me and my kids, after saying some tehillim (Psalms) together.  If we had to stay there for longer, then games would be helpful in spending time together in a relaxed way.

Our kids need us to help them stay calm, to give them the message that they’re safe and we’re there for them.  Listen to them talk, encourage them to draw or write down their feelings.  Don’t minimize this because you’re uncomfortable or so afraid yourself that you think that letting them share their feelings will make them more afraid.  Remember, they’ll take their cues from you.  The message you want them to get is, it’s scary but they are safe, that whatever happens it will all be okay.  You’re taking care of them.  This is our job especially at times like this, to be the emotional rock for our kids to lean on.

My ds15 heard a rocket land near where he was at the time and he told me he can’t believe how Israelis go on with their lives as if everything is normal.  Well, unfortunately for our beleaguered little country, being attacked by hostile Arabs is normal.  Israelis have developed the attitude that we have to go on with our lives, that to live in fear is letting terrorists win.

If you’re in Israel:

  • Do NOT share details of where you hear a rocket land.  We don’t want them to know where they are landing because this helps Hamas shoot more accurately.
  • Do NOT mention hearing planes going overhead.
  • Do NOT talk about where our soldiers are being deployed.

You know the saying from WWII, “Loose lips sink ships”?  It’s like that.  PLEASE – I know it’s scary and you want to share with your friends, but tell them in person, not on FB or other social media.  They are being monitored for this information and we don’t want to give information to people who will use it to hurt us.

Friends of ours in Baltimore began the Shmira project, where people around the world are paired with active combat soldiers in the Israeli army to pray, do good deeds or learn Torah as a merit for safety for that soldier.  Sign up here.

If you  have a smartphone there’s an app called Red Alert: Israel that you can download.  It will notify you when a rocket is being shot, giving people in communities closest to the danger zone just 15 seconds to get to safety.  For those of you not in Israel, you can use these seconds to pray for the safety of those being targeted that no one is harmed.

The Israeli army has just called up 40,000 reservists, which means that many, many young children are saying goodbye to their fathers right now.  So much courage from so many people in such a tiny country – our men, their wives and mothers and their children – we’re all one big family.

It’s hard to talk about this conflict without feeling frustrated and confused that regardless of how much terror is inflicted on the Jewish state, it is painted as the aggressor.  Why would people support evil when the facts are so clear, my older kids want to know (and what most adults are trying to wrap their heads around)?  To be very simplistic, it’s hard to deal with bullies when they control the world’s oil and everyone is dependent on it.  Better to look the other way so you don’t see what they’re doing, so you don’t have to take action.  Because ignoring evil makes it go away, don’t you know?

When I begin to feel upset or fearful about the injustice of the world, I take a deep breath and remind myself Who is running the world, and remember what we’ve seen time and time again – and I pray that we continue to merit this protection in this latest wave of attacks on Israelis.

Hodu laHashem for being our iron dome and protecting us constantly from the incessant life threatening rockets that continually rain down us. We are aware of your constant guidance and thank You with all our heart! Please continue to be for us a shield from harm and forever protect us from evil. Aliza Gable Lipkin


Please pray for peace, for safety and for a quick end to this most recent war of terror on Israel.

Avivah

Frugal option to buying canning jars

>>I have a son’s bar mitzvah coming up for which my mom is coming, and she is going to try to bring a small number of canning jars with her – maybe a dozen…they sell basic canning supplies from Ball right in the grocery stores, at what I considered to be very reasonable prices. However, I have never canned and wondered if you might have suggestions as to brands of jars, lids, etc., and also what other canning supplies are necessary for water bath canning and where I might purchase them cheaply (in the US). I assume I need to purchase something that the jars rest on to keep them off the bottom of the pot?<<

As many of you know, I was an avid canner in the US and had a huge collection of canning jars (about 1000) but downsized my collection along with everything else when we moved here.

The reason I felt able to do this was because I had an alternate plan for canning supplies when I moved to Israel .  This is a good tip for anyone interested in canning, wherever you live, but for those in all countries but in countries where you can’t get canning supplies, it makes the difference between being able to can food or not being able to.

Here are the jars that I use – below they are filled with rendered beef fat, but I use them for just about everything – like storing foods in the pantry and refrigerator as well as for canning.

beef fat

These are glass jars recycled from store bought products – in my case, marinara sauce.  You can use jars of any height or width, small or large.  The main thing is that they have pop top lids.  You see these safety seal jars everywhere – the lids pop up when you open the jar.  The lids operate as a vacuum – and these lids can be resealed again and again if you’re canning (the heat of the rendered fat in the photo above also caused the jars to seal).  The lid will be indented when the seal is strong, popped up when the seal is broken.  If you don’t buy foods that come in this kind of packaging, then ask friends to save jars for you – I have one friend who has been the source of all of my jars; I probably have about fifty jars thanks to her!

It does take some preparation to use these jars.  If you’re a religious Jew, they will need to be toiveled, and completely getting the sticky residue off of the outside of the jars so you can do this is where the real work comes in.  What I do is put the jars in boiling water to loosen the labels, peel the labels off, pour a bit of oil on the outside of the jar on the residue, then scrub it off with steel wool.  I usually save up a bunch of jars and do them all at once.  Fortunately it only has to be done once!

Foods that can be waterbathed include jellies, jams, chutneys, fruits, juices, and pickles.  All of these are high acid foods which means they are low risk and easy foods to can.  I believe that it would be possible to safely pressure can with these jars – assuming you have a pressure canner and follow proper safety guidelines – but I don’t have a pressure canner anymore so I haven’t tried.  Pressure canning requires a lot more knowledge and caution since you’re dealing with low acid foods, so my recommendations right now are just regarding waterbath canning.

If you want to buy canning jars, it doesn’t really matter what company you buy.  Most of mine were Kerr or Ball, which are the name brands, but honestly I don’t think there’s a qualitative difference between the generic jars.  They are all a standard thickness and the same size.  So go for whatever’s cheapest.

The other things that you’ll find helpful are a funnel (to get the food in the jars neatly), a canning jar lifter (to lift the jars out of the pot of boiling water) and a magnetic wand (to lift the lids out of hot water).  You can buy these as a set online; I’ve also seen them sold at Walmart. I bought a new set of these before moving, but one of my lovely children took it out of the box it was packed in and I’ve never seen it since.  It probably ended up in a box of things that were given away – along with some other new items that were purchased for our move and didn’t make it into the boxes – and whoever bought these things at the thrift store wondered why anyone would have given away those brand new items!  When you get a canning jar lifter, if you’re planning to do a lot of canning I strongly recommend getting a good quality one that is solidly constructed and will last.

>>Also, where could I purchase kosher pectin – the low sugar variety, specifically?<<

I bought the low sugar pectic made by Ball, which had a kosher certification.  I remember a reader emailing me information about buying pectin in bulk but don’t remember the specifics.

Avivah

Canning when you can’t buy canning supplies

>>Do you know where I can get canning supplies in Israel?? Can’t find any in my area! A lady gave me a couple dozen jars and a few lids but no rings! Have been looking and not finding anything.<<

Back when I was the owner of over a thousand canning jars, many dozen lids, and endless rings, I decided to move to Israel, land of many things but canning supplies weren’t one of them.

So I agonized over what to do with my canning supplies (including my heavy duty shelving units which could hold the weight of dozens of full jars), which I had acquired with much time and effort.  I very much enjoyed being able to fill my pantry with shelves of beautiful jars of food bought at great discounts and home-preserved for the long term.  I primarily canned real food (eg chicken, ground meat, vegetables and fruit) versus specialty items or jams, so I had jars I could pull off the shelf and heat up for an instant meal.

This was mentally a hard thing to let go of, but it became obvious that I couldn’t justify the cost of an overseas container just to take my canning supplies – though there are lots of other things that would have been nice to take, those were the main things I was having trouble letting go of.  How did I make the decision to sell all of my canning supplies?

I was able to let go of this because I had a backup plan for canning that I could do in Israel.  When I began canning, I read several books to fully understand the science of canning, the safety issues, how to prevent possible bacterial contamination, etc.  As a result, I felt I understood why each step was taken and realized there were different ways to get the same end result – a safe product.

What was that?  Factories don’t use canning lids and rings, but rather suction lids.  Many foods you buy come in these jars, and can be used to safely water bath high acid foods (this is a very important detail).  This was my plan when I moved here, and I’ve gradually accumulated several dozen jars (thanks to one particular friend who graciously saves her jars for me!).  I bought a new canning jar lifter before I left and packed it with the things I wanted to take on the flight so I’d have it right  away, but one of the littles found it and played with it, and when I found it the boxes for the flight had been sealed.  So it will come whenever my few boxes of books arrive.

The problem I have with these jars is that they aren’t very large, and I preferred canning in half gallon jars.  So when I canned fruit compote, we could easily use two jars for just one breakfast.  Knowing the work that goes into processing the fruits, it’s a little discouraging to see it disappear so quickly!  However, it does offer me a workable option and one that I’ve overall been satisfied with.

Avivah

How to render beef fat

Five jars of cooled (white) fat, jar on right with melted fat still hot

Some things are so easy you feel almost foolish posting instructions on how to do it, and how to render beef fat (or chicken fat) is one of those things!

But since Chanukah began just last night and it’s traditional to fry foods in oil during this eight day festival, I’m going to go ahead and share an option for frying that our family enjoys year round!

Firstly, you’ll need to get hold of a good bit of beef fat.  This is also called suet.  There are different qualities of fat; if you have a choice, you want a big chunk of white fat rather than a blob of little pieces.  But either way, you’ll prepare it the same way.  We got a nice slab from the ribs, which is good quality fat.

If you want to make life more involved for yourself, then go ahead and dice the fat up.  Or put it in a food processor, or chop it.  I’ve seen all those things recommended.  But you know me, ‘why make more work than necessary?’ is my motto, so I just put the entire big chunk in a pot.

Put the burner on low, and let the fat slowly melt over the course of time – it might take up to a few hours, depending how much fat you have.  When it’s liquid, it’s called rendered – pour the fat through a strainer into a glass jar or container.  If you are going to refrigerate the fat and don’t care if there are tiny pieces of meat that end up in it, don’t bother straining it.  The beef particles will sink to the bottom of the jar.  I use this up so quickly that it doesn’t matter to me if it’s clarified (strained) or not.

If you have a big chunk, you might find that you can pour off most of the melted fat, but there’s still a chunk left.  Go ahead, pour off what’s melted, and keep melting the remainder – that’s what I did above, which is why one jar in my picture was in the hot melted stage while the others had already cooled off.

When the fat is liquid, it will be a lovely golden brown,  but when it hardens, it turns a pure white.  You can see that in my picture above.  (You can also see the little food particles at the bottom of the jar of melted fat on the right, if you look closely. )

You might be left with some tasty cracklings at the end of this – if you are, save them and use them to season another dish – it’s delicious!

Now, how do you preserve your rendered fat?  Assuming you’ve strained it, you should be able to keep this at room temperature for quite a while.  What I’ve liked doing in the past is rendering a large batch of fat at a time, pouring the hot strained fat into glass canning jars, and then immediately closing each jar with a new canning lid and ring.  It will seal as it cools, and will stay shelf stable for many, many months.

For those of you wondering why in the world I’d want to use something as artery clogging as beef fat, it’s because it’s not saturated fat that causes heart problems, but processed vegetable oils (yes, like the widely touted canola and soy oils).  They’ve done analyses of the stuff they’ve scraped out of arteries and it’s not saturated fat.  There’s lots of fascinating research about this and if you’re interested in reading some articles, here are some to start you off:

http://wholehealthsource.blogspot.com/2011/01/does-dietary-saturated-fat-increase.html

http://wholehealthsource.blogspot.com/2010/08/saturated-fat-consumption-still-isnt.html  (This blogger has a PhD in neurobiology and has a number of excellent articles on different aspects of the research on saturated fat – you can do a search on his blog if you’re interested in reading more.)

http://www.marksdailyapple.com/saturated-fat-healthy/ (This is an excellent site and is filled with high quality information, but you’ll find a little bit of off-color language from time to time – just a warning for those who would be bothered.)

http://www.drbriffa.com/2010/01/15/two-major-studies-conclude-that-saturated-fat-does-not-cause-heart-disease/

The benefits in terms of cooking with beef fat are that it has a high smoking point, which makes it good for frying and baking.  Flavor-wise, I prefer to use coconut oil or palm shortening for baking, but find the beef fat adds a nice flavor to most other things.

Avivah

(This post is linked to Make Your Own Monday, Monday ManiaHomestead Barn Hop, Real Food 101,  Traditional TuesdaysReal Food Wednesday, Works for Me Wednesdays, and the Real Food Hanukkah Blog Carnival.)

How to preserve eggs

Have you ever had an abundance of eggs, or seen a great deal on eggs and wished you could stock up, but didn’t because you thought they’d go bad before you could use them?  I have!  Here’s an alternative that can be helpful.

Crack your eggs, slightly beat them, (edited to add – and sprinkle a tiny bit of salt in), and pour them into ice cube trays.  (Pay attention to how many you use so you can do the math on how many eggs are in each cube.)  Once they’re frozen, pour them into a zip lock bag.  Put them in the freezer until you need them.  When you’re ready to use them, defrost the amount of cubes you need in your fridge, and use them in whatever recipes you want to make.  And here’s where the math comes in: one cube equals – xxx eggs.

Do you have any other practical and easy ways to store eggs long term (except for keeping them in the fridge!)?  Have you ever used this strategy or something similar for eggs?  

Avivah